
Squishy Circuit kits!!
|
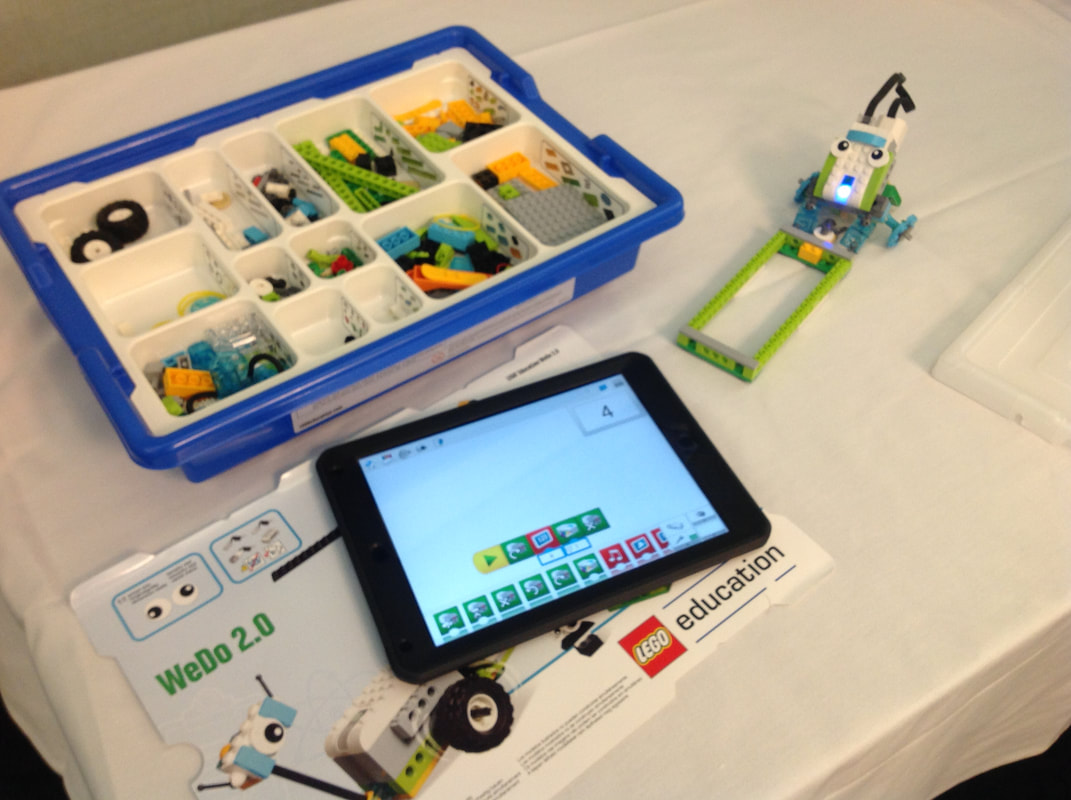
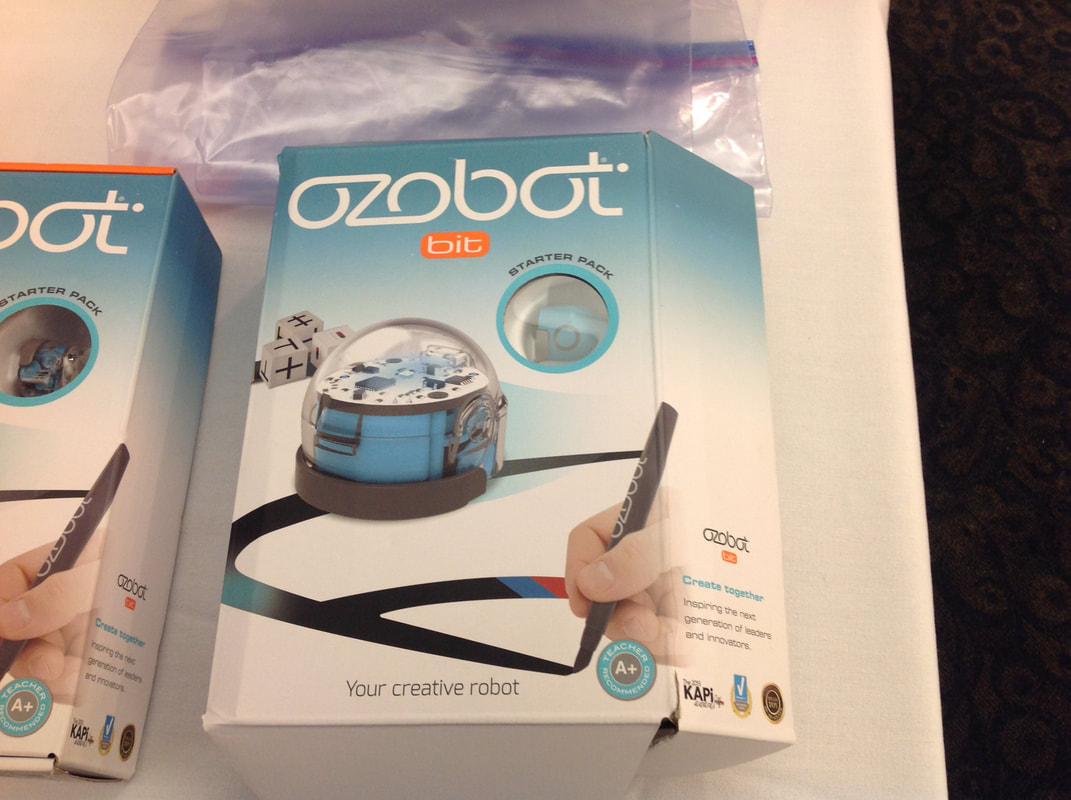
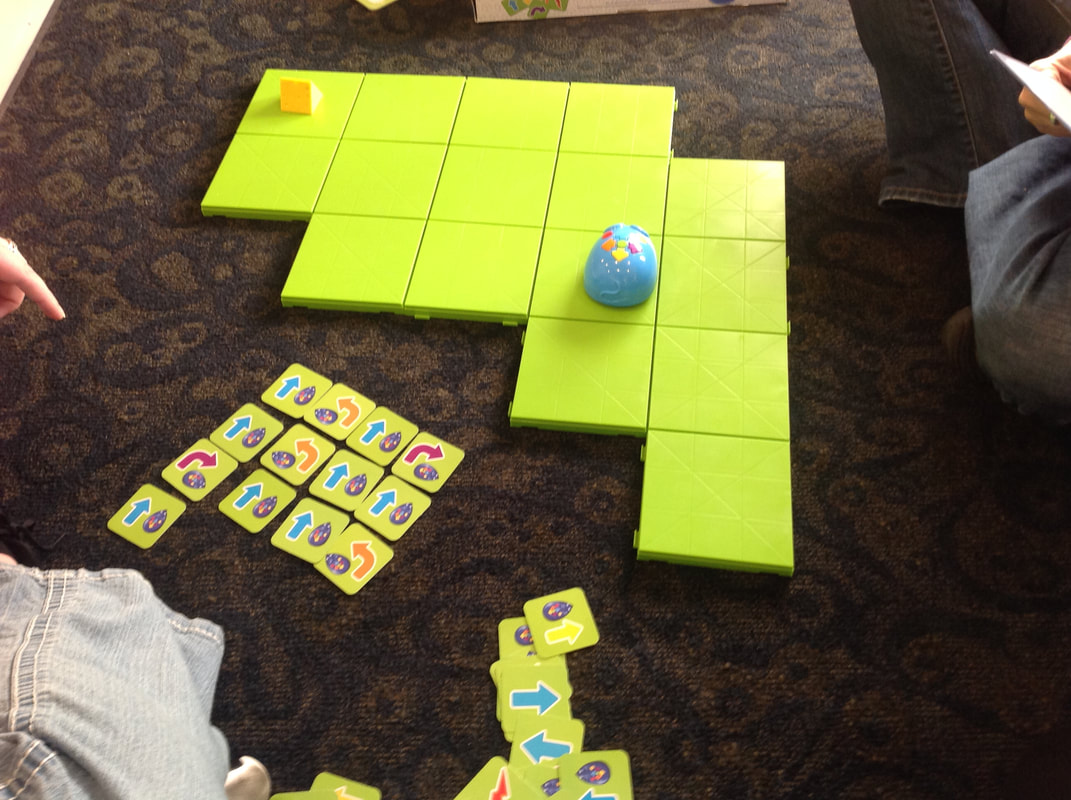
The Lego We Do 2 Robots were amazing!!! Students learn step by step how to build a robot out of legos and then they can code it to move. I also liked the Ozobot. I think this would be a neat tool for students to create a path of what the robot should do. I am not sure yet how this robot would add to my classroom. We also tried the mouse coding game on the green tiles but the mouse had a hard time going straight after you programmed its path.
0 Comments
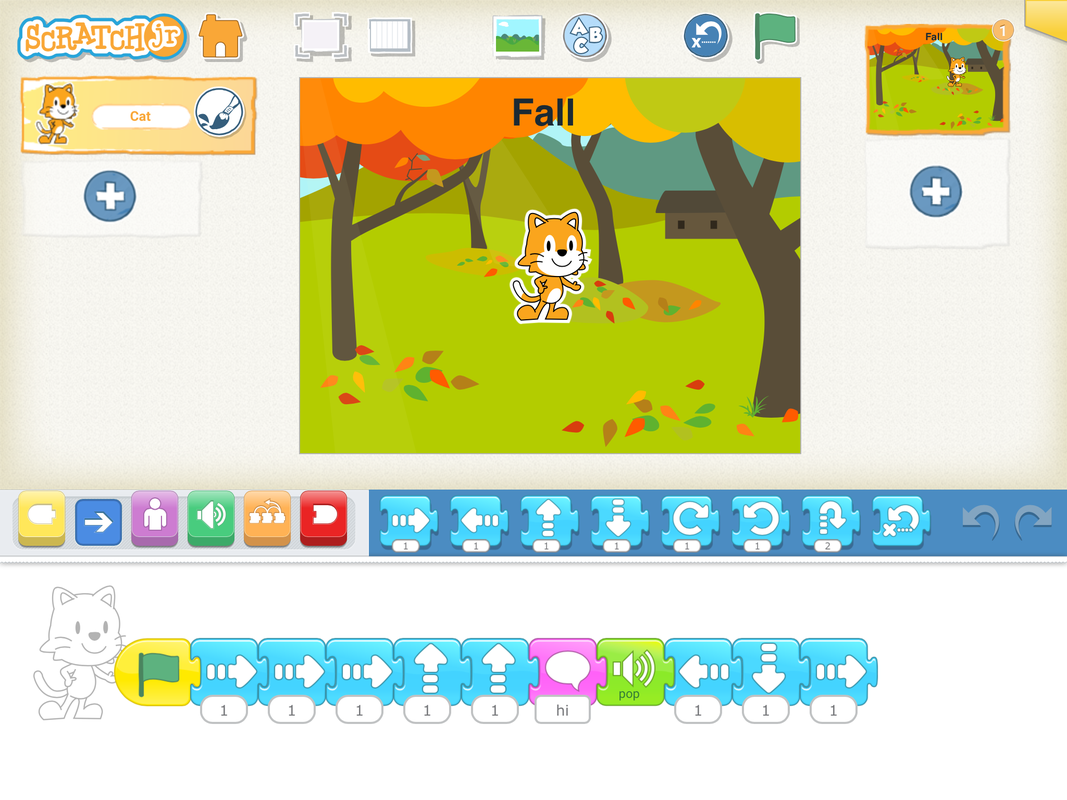
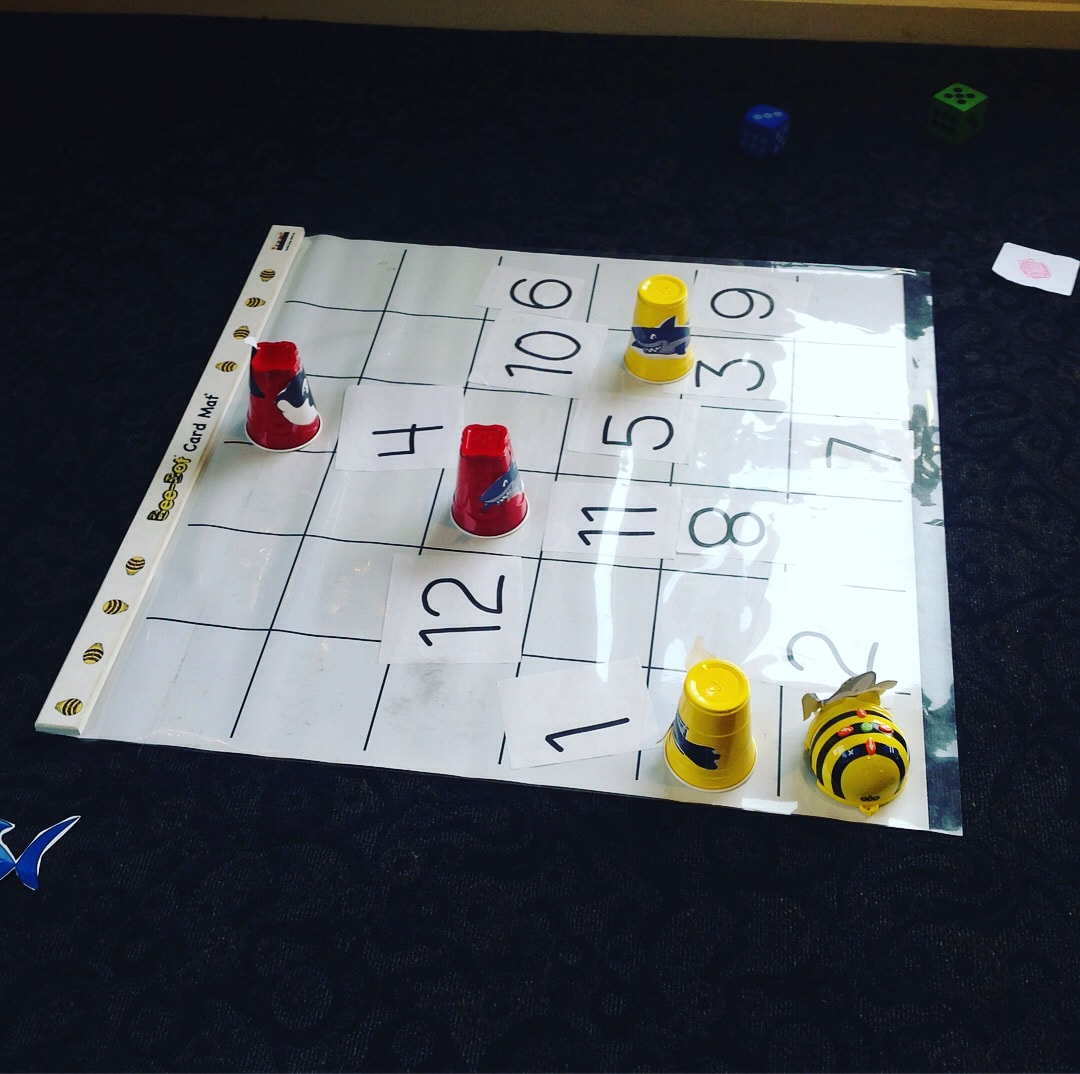
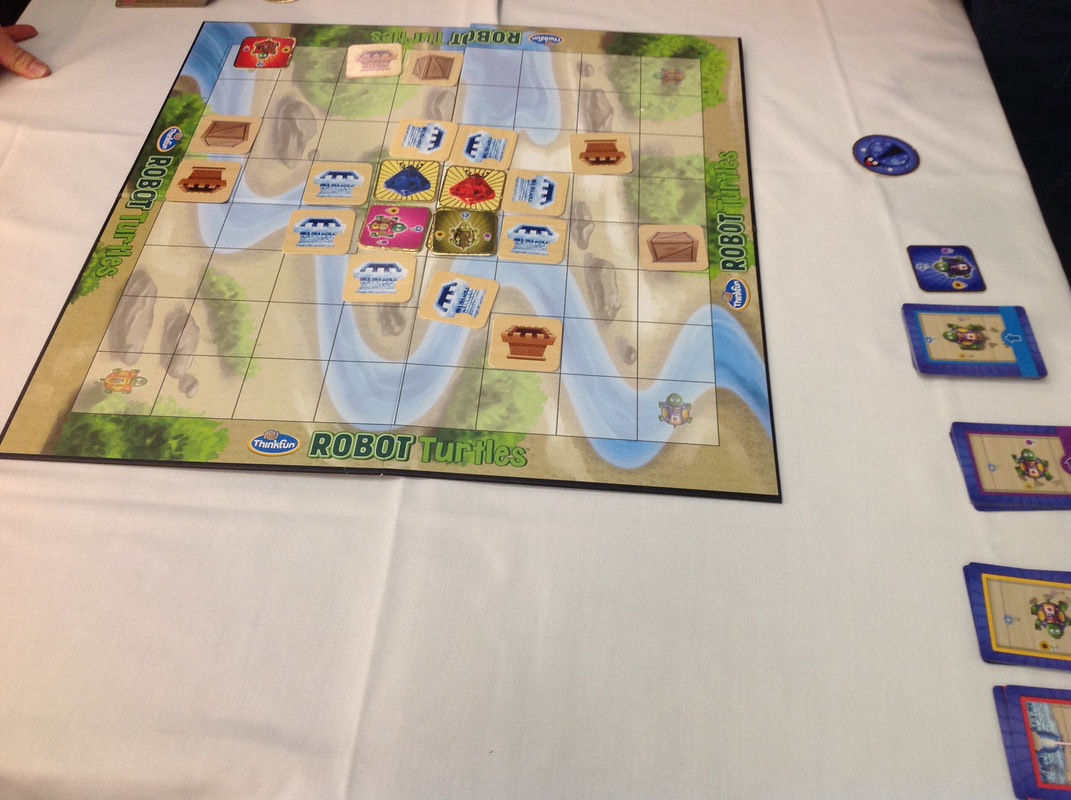
I loved the Scratch app. I had heard of it before in a previous course but I hadn't had a chance to use it. Students get to practice coding and designing what Scratch will do. It would be neat if it developed into a game. I loved, loved the Bee Bots because you can use it cross curricular. You could program the Bee Bot to practice whatever you are teaching. You could ask a students to find a moon phrase and they would program the bee Bot to go to the right square. It is expensive for the mat, but once you have one, you can make one out of a shower curtain. I also loved the turtle coding board game. This would be a great center for a few students to work on. This game teaches strategy, collaboration and coding.
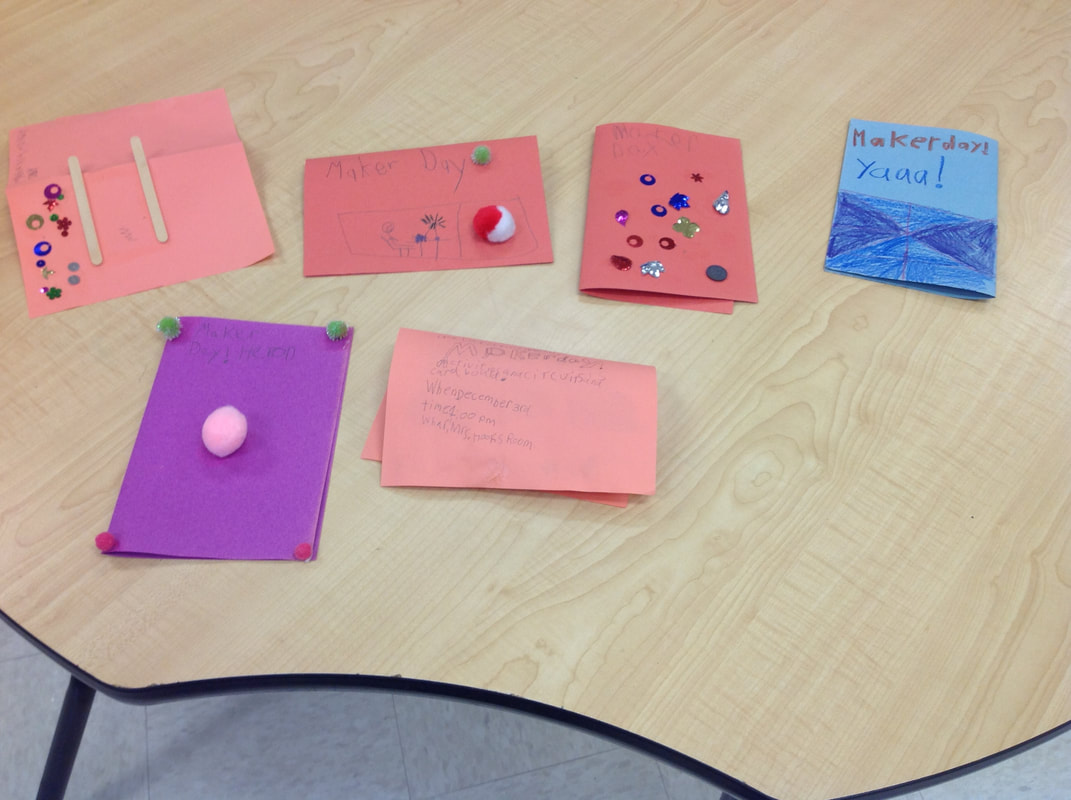 Students began making cards to invite their families. They will be teaching parents how to use Squishy Circuits and designing with cardboard and caps. We are also going to make cupcakes and let families decorate them at the event. How exciting!!
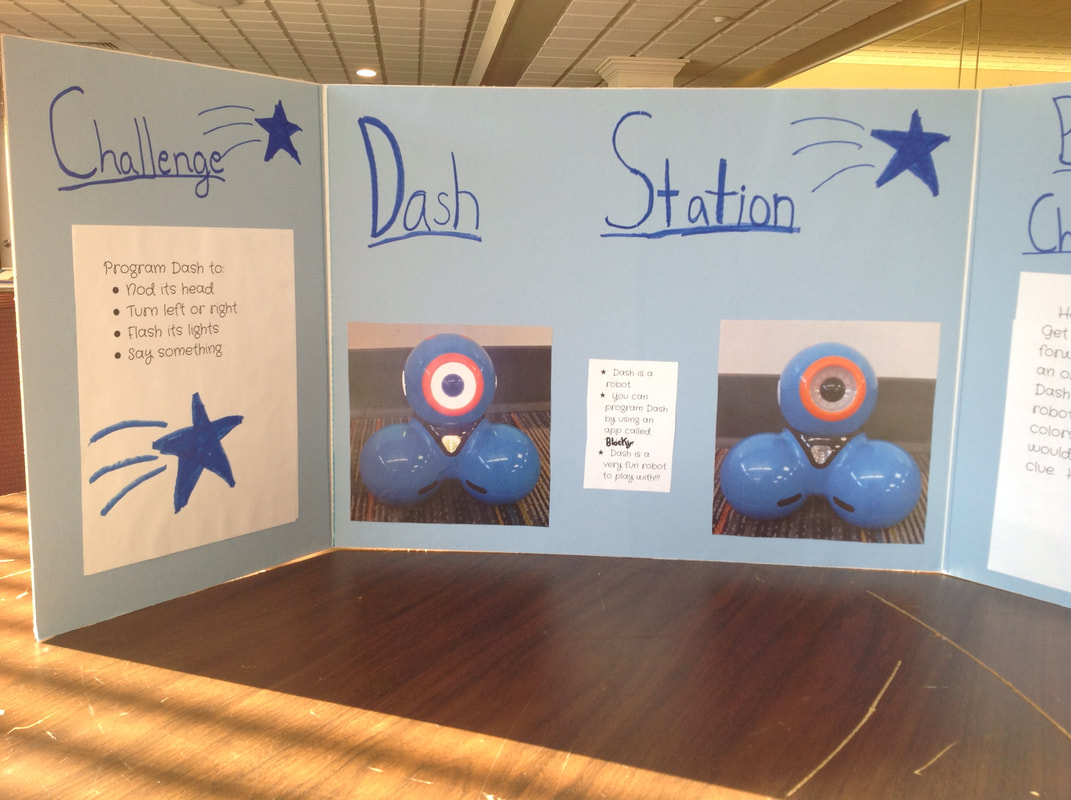
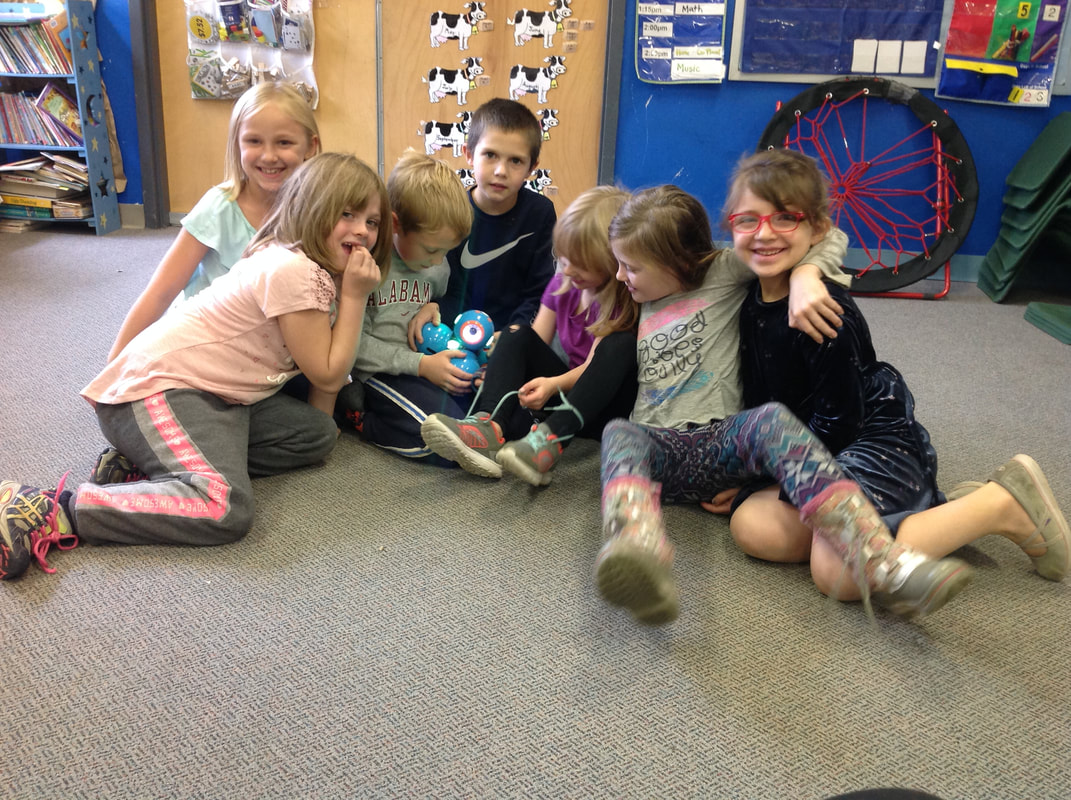 Students were excited to try out the Dash robot. One students has already made it move and make sounds!
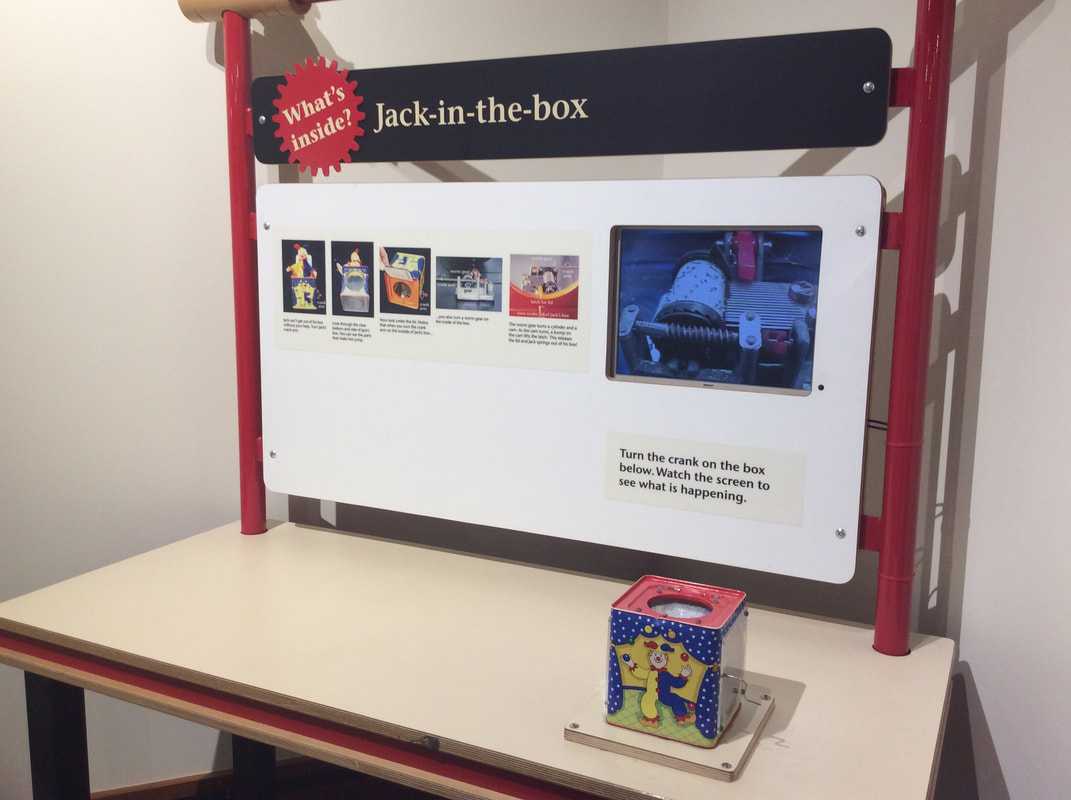
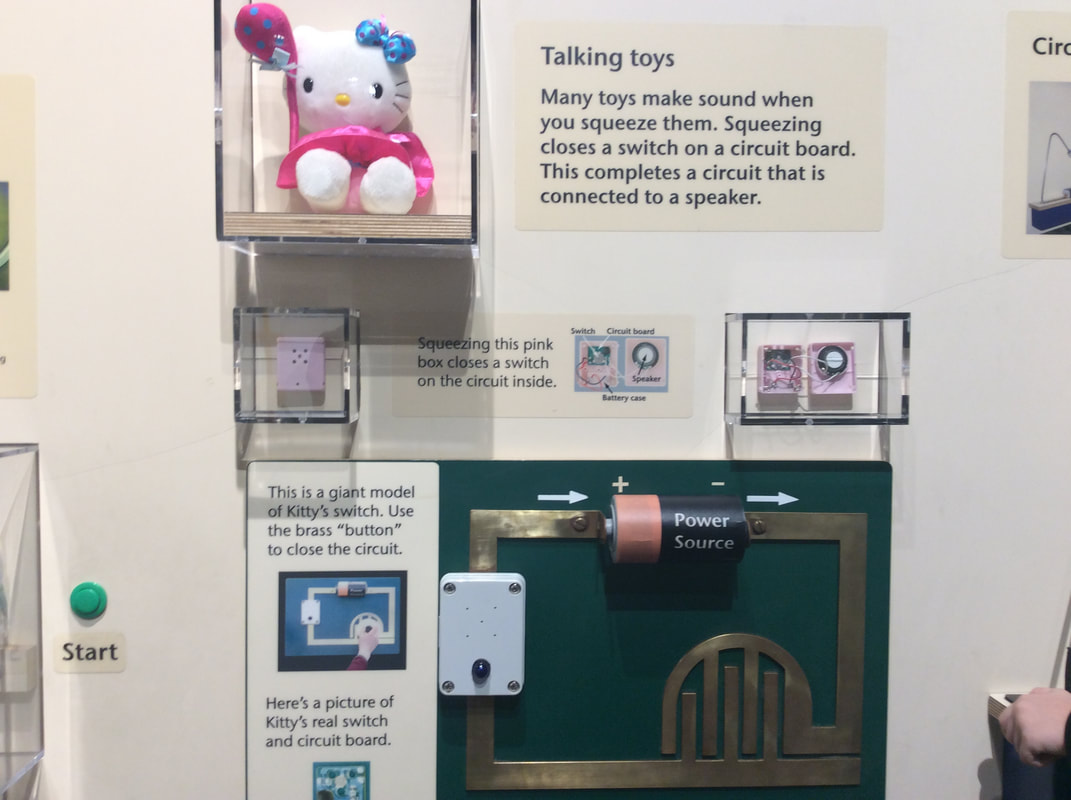
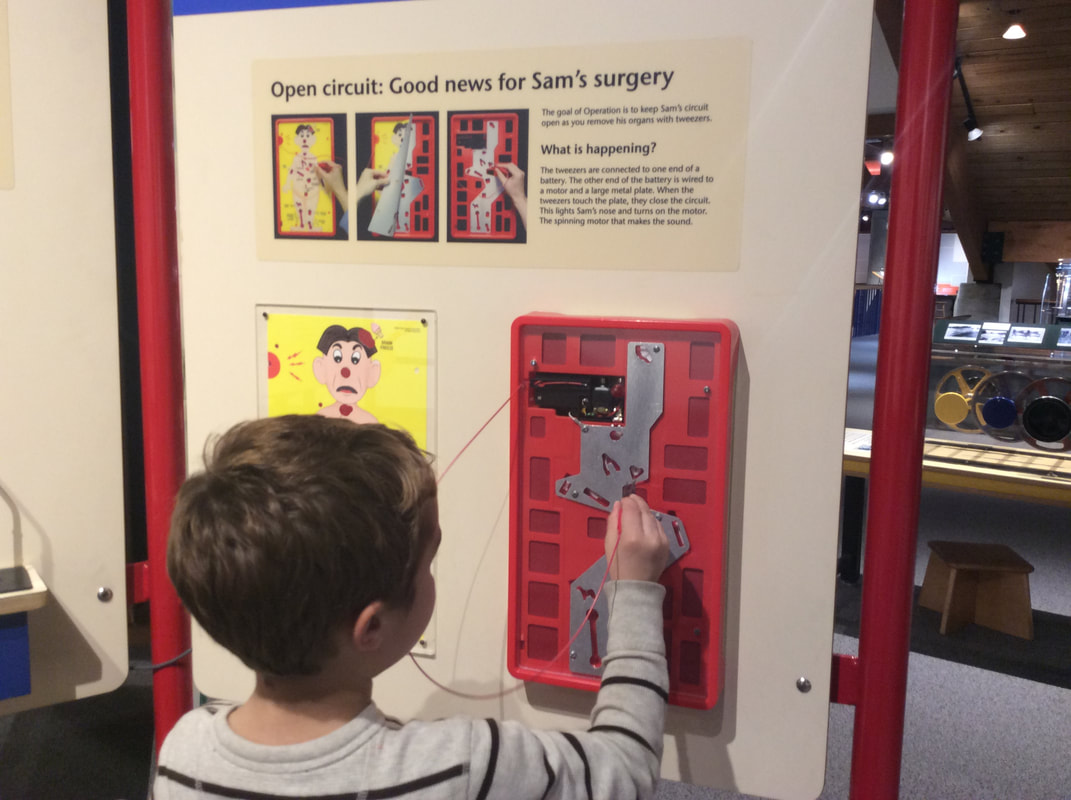
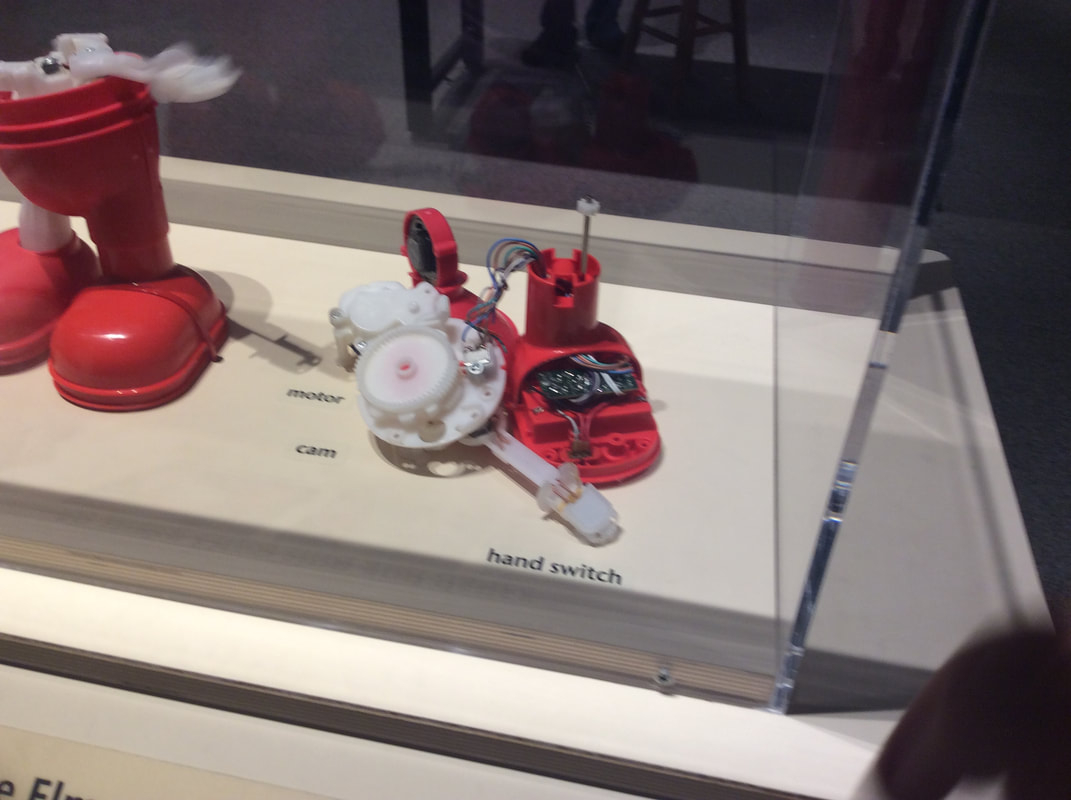
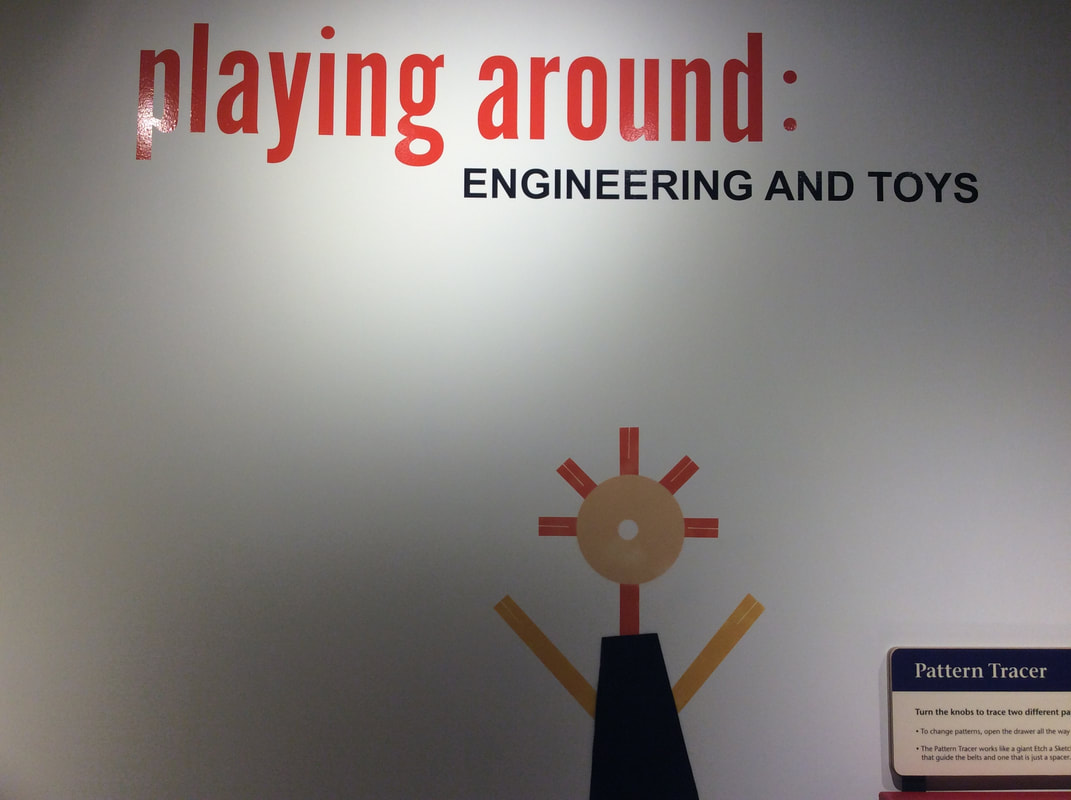
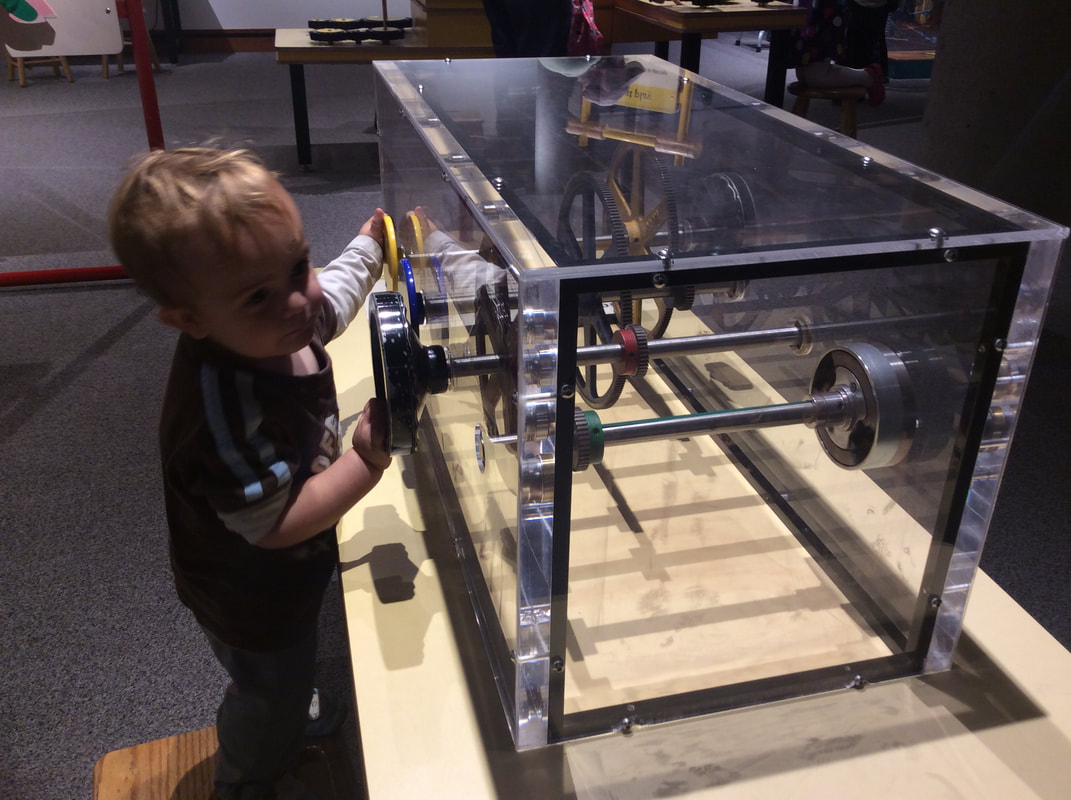
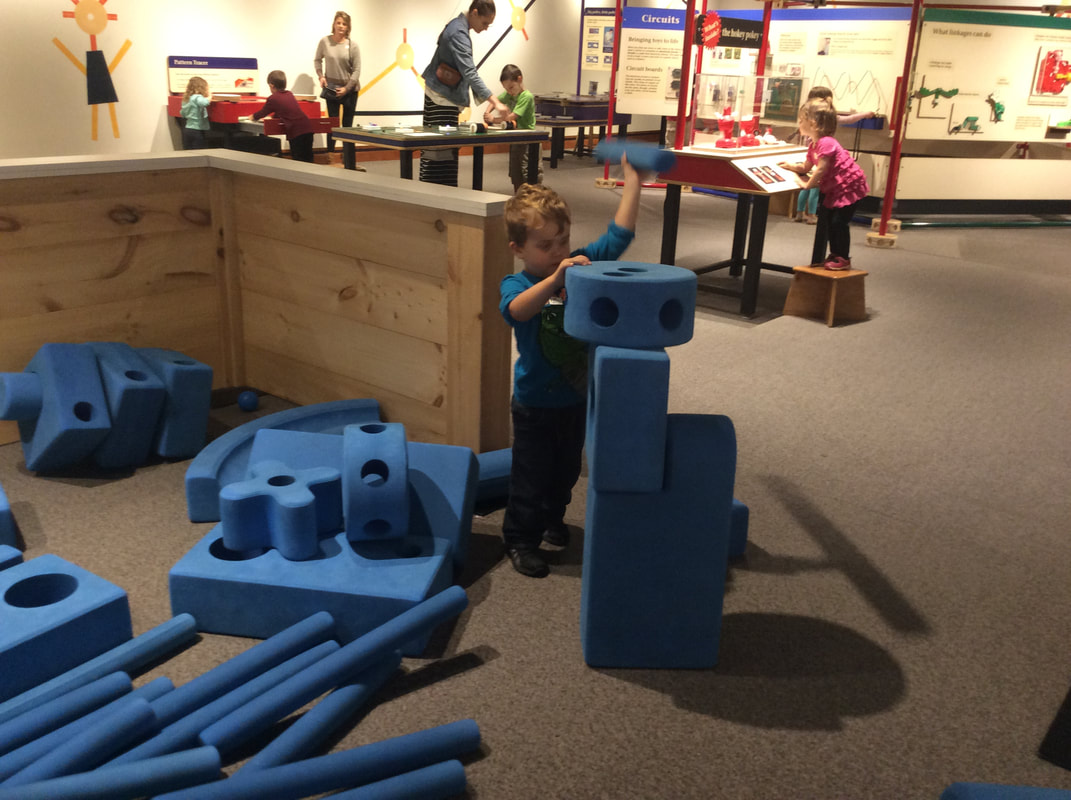
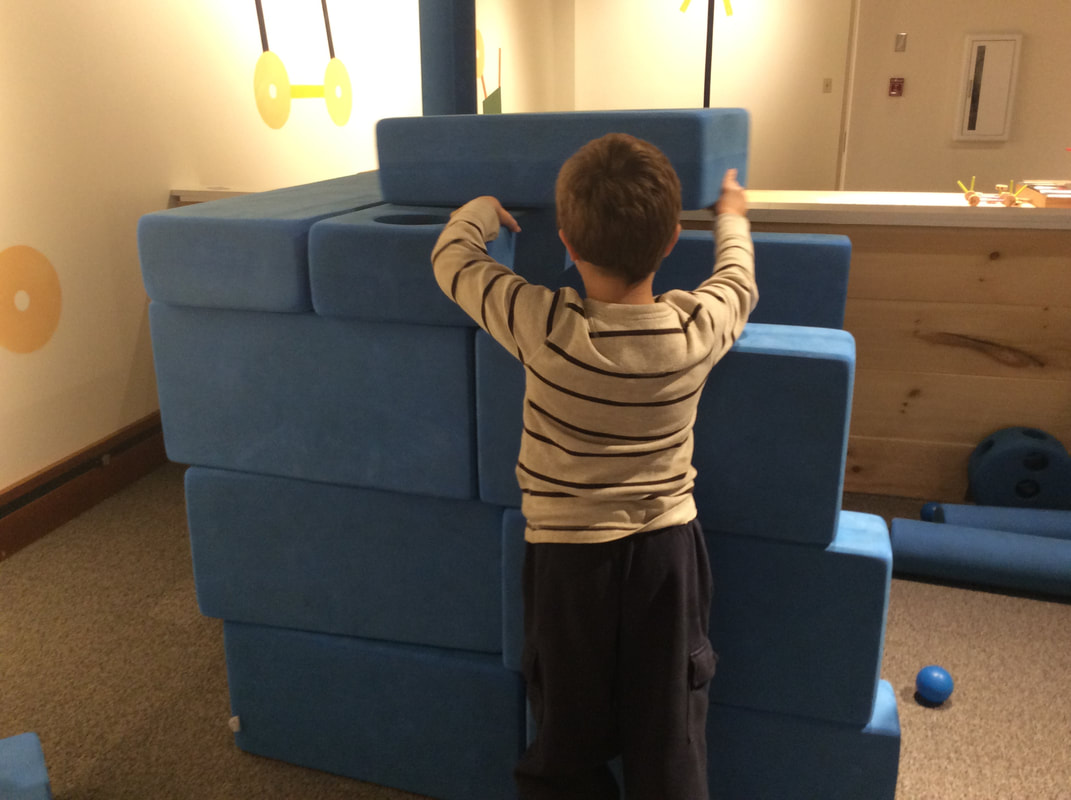
I brought my sons to this museum a few weeks ago. Boy, was I excited! They had changed the centers upstairs to learning about tinkering with toys. They had big blue building blocks, connectors, and toys that you could press and look into to see how they work. If you haven't been to this museum, then I definitely suggest that you do!
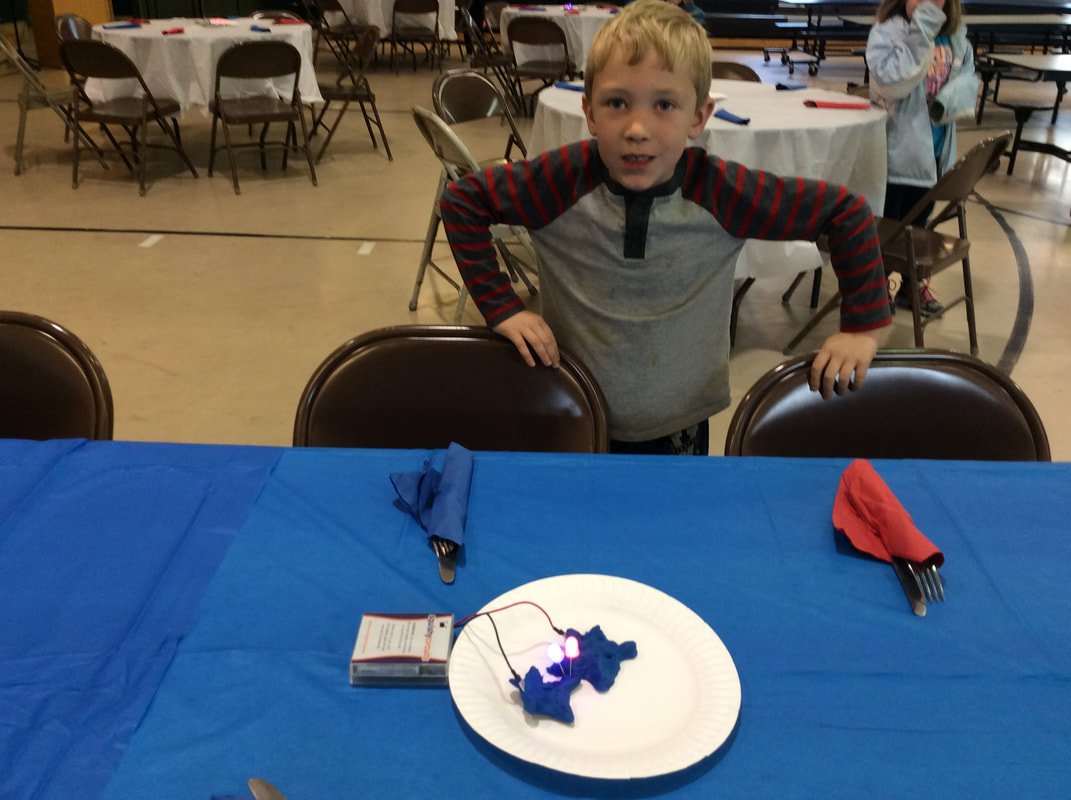
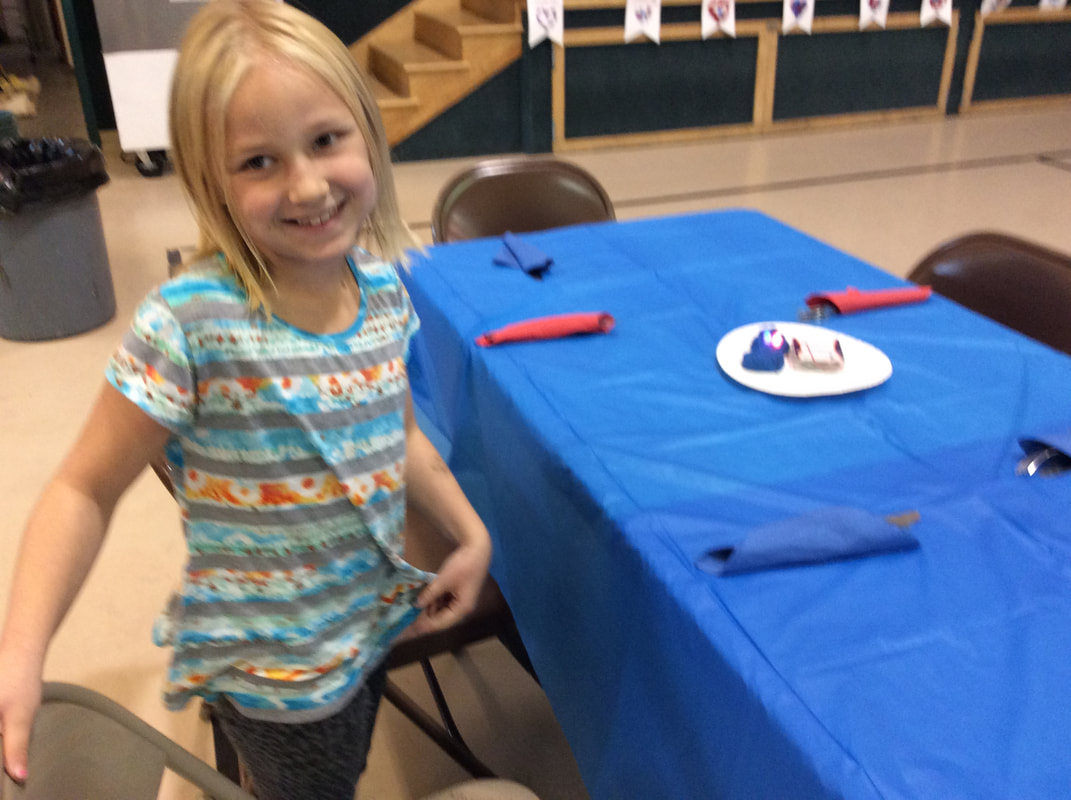
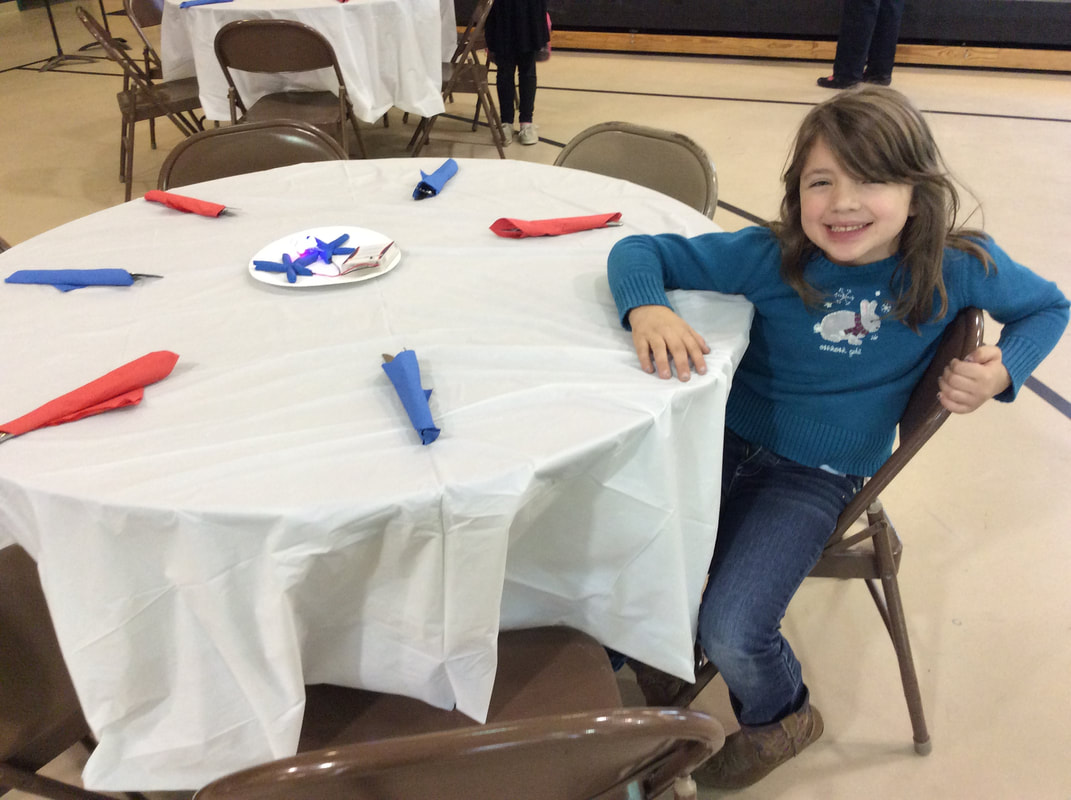
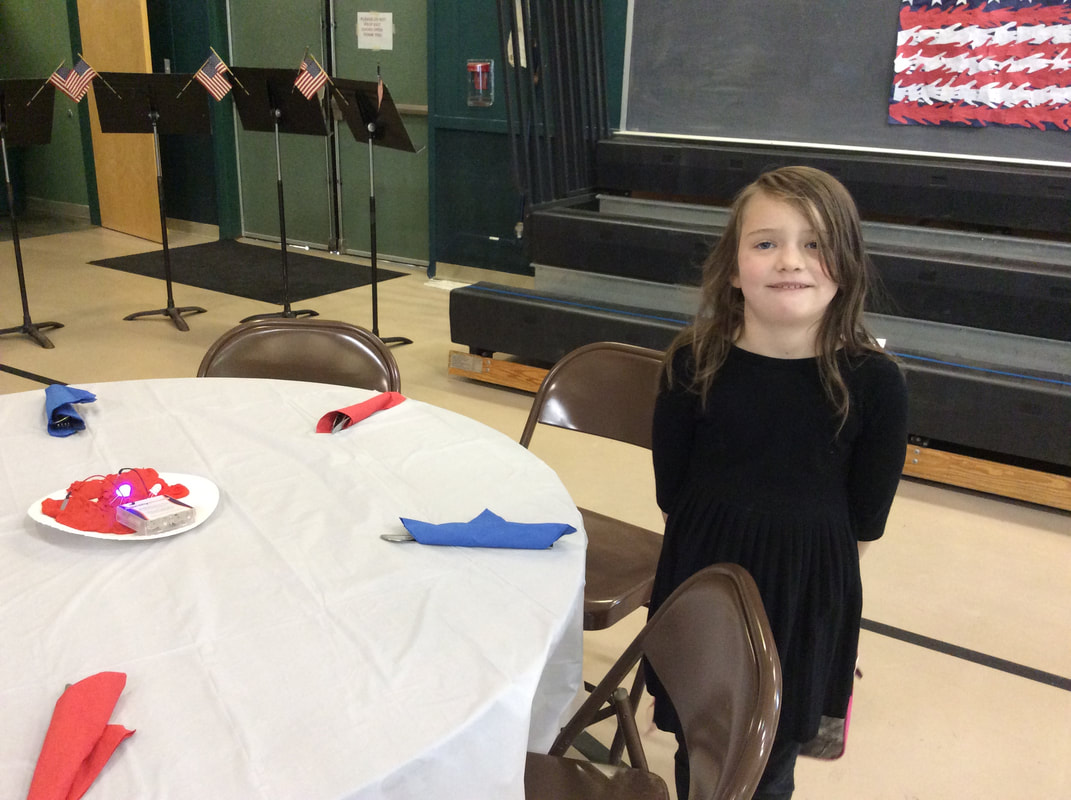
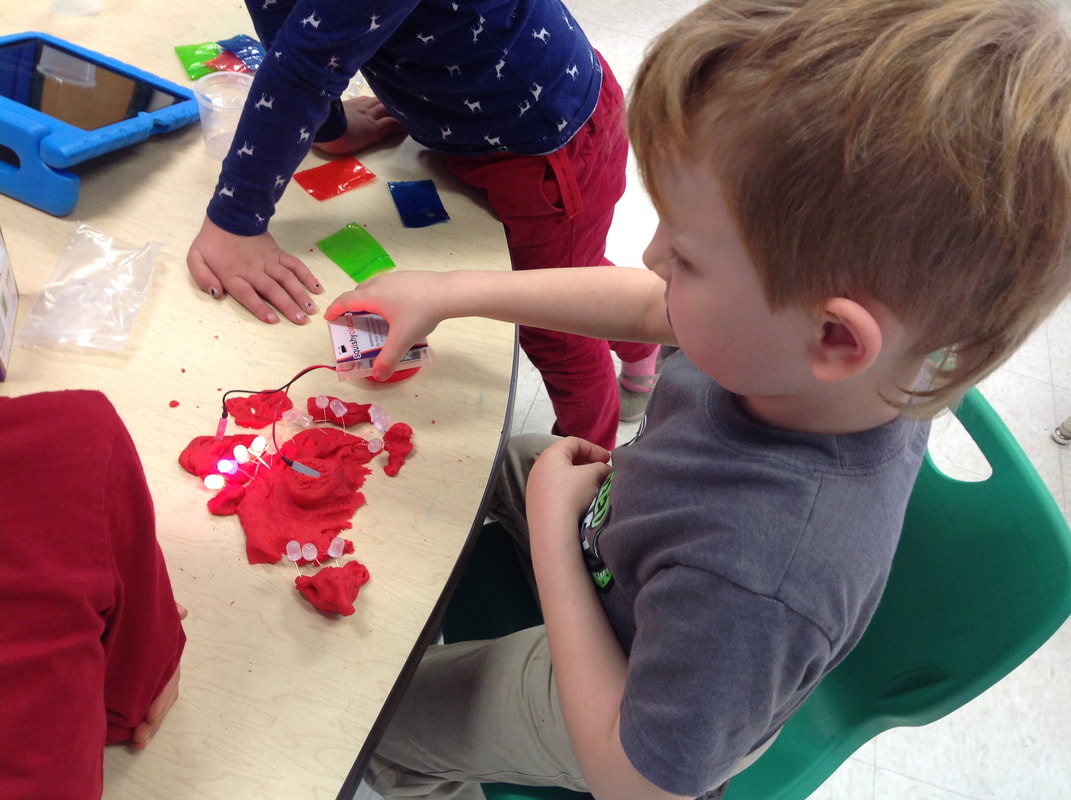
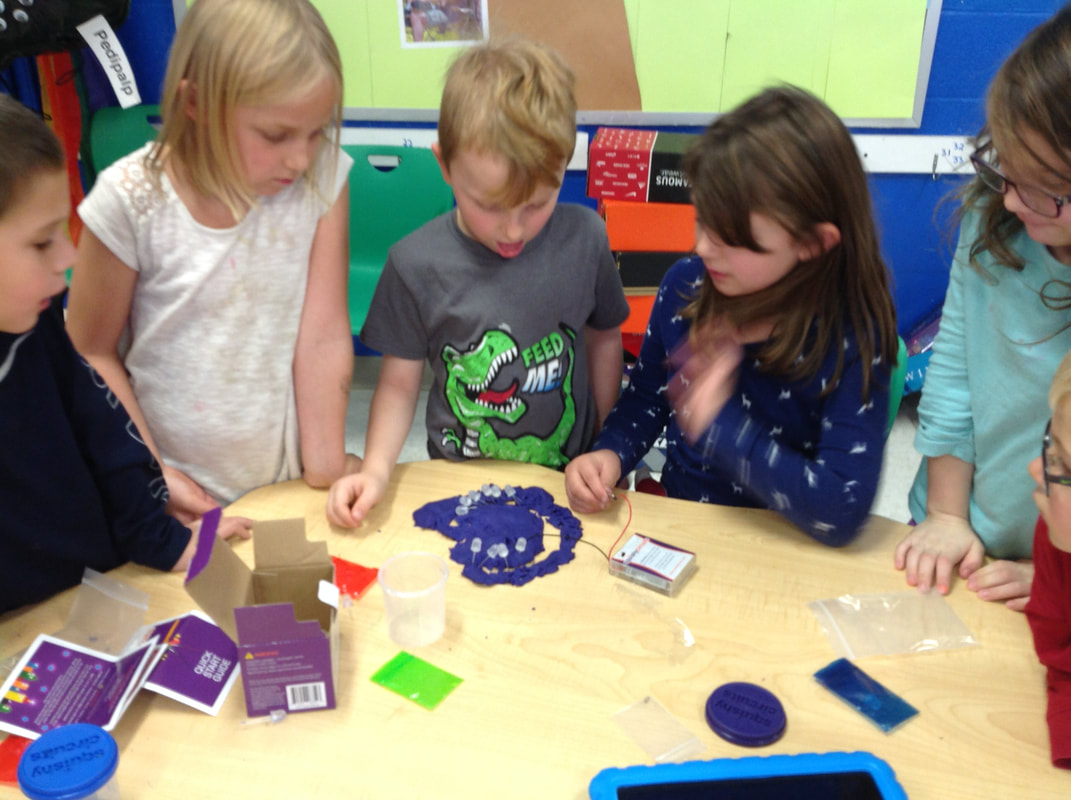
The students and I were very excited to try out the Squishy Circuit kits. We watched Sylvia's Super Mini Maker show, which was great for the students to see another student making. I taught the students how to put batteries into the power source and about negative and positive charges. Students had to decide on a toy that they would want to make with their play doh and then light it up. After one of my students figured out how to get the led lit, they were hooked. Some students came up with ways to set more than two amounts of playdoh to have more leds light up in other places. They took the initiative and I stepped back and observed. Students shared their sculptures at the end with peers. This was a great learning experience for them and myself. I even tried using a motor with the squishy circuits. i got it to run once but then had trouble finding the right spot again. I wonder if not enough electricity could get to it.
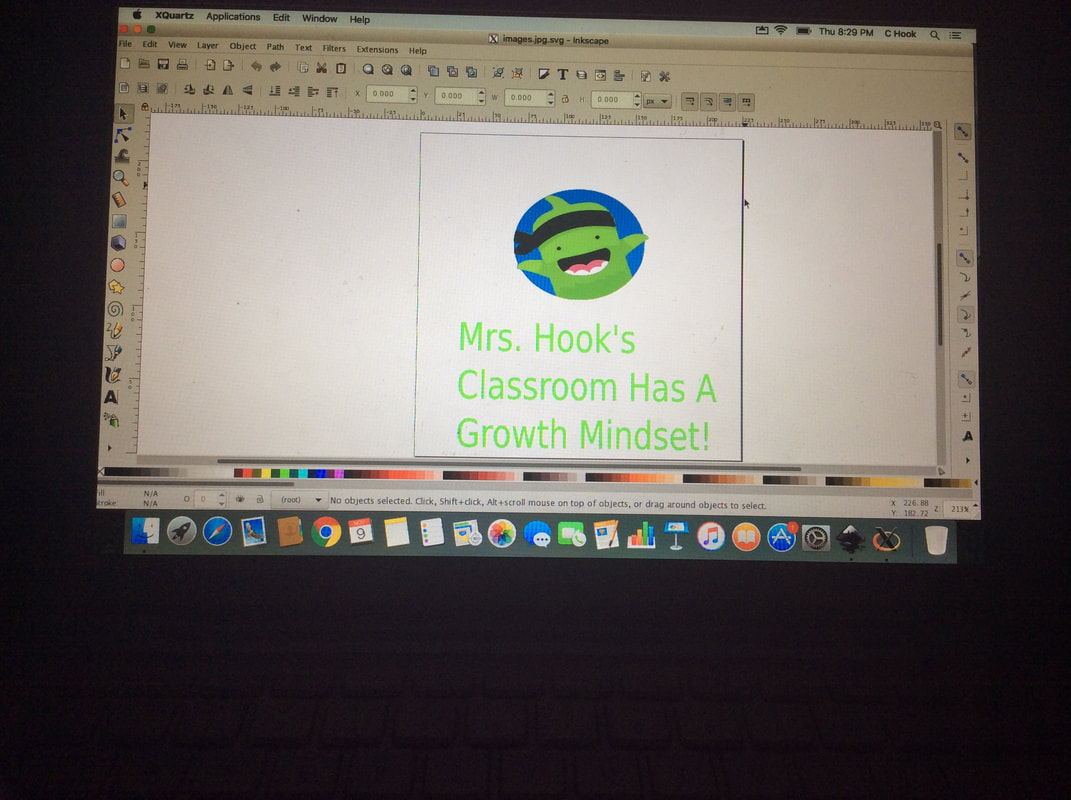
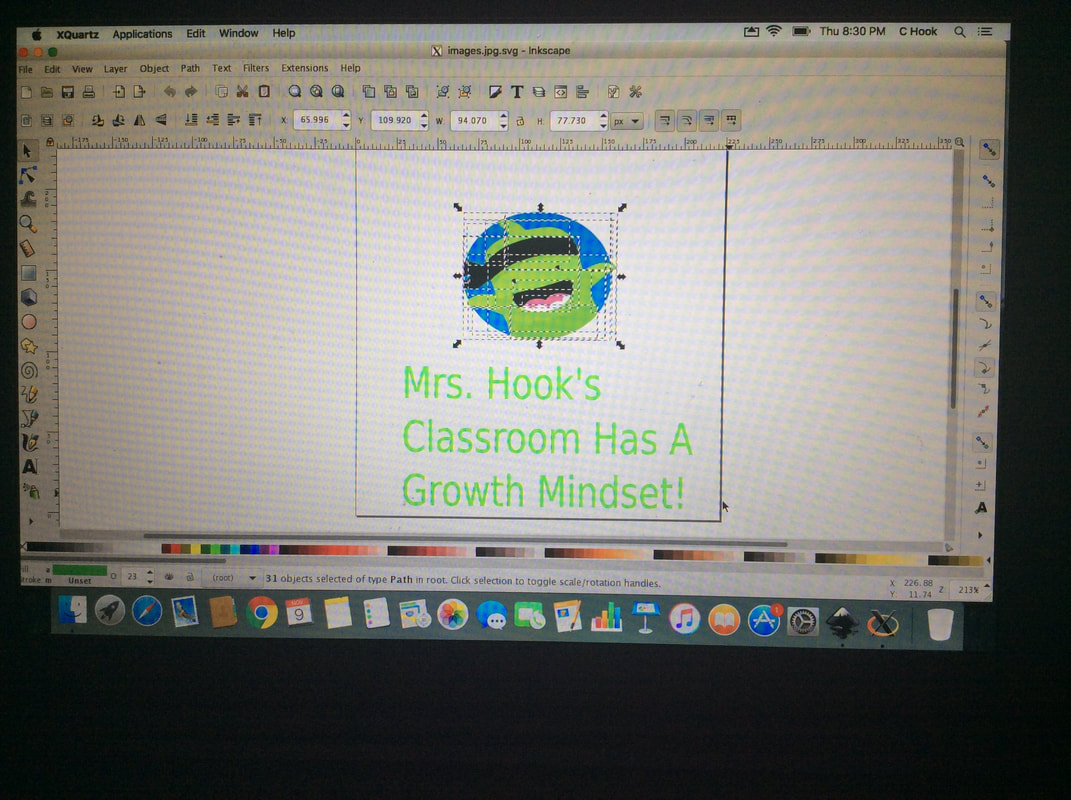
I thought the tutorials were great on youtube of how to do this. I had good luck with getting the design to fit and then making a copy of it after you do the trace bitmap image. Everything went fine until I added text below it. I used text from within the Inkscape program. I thought it would then be easy and I wouldn't have to do to much to it. When I tried to preview my image, the text wouldn't let me copy it. Why is this? Still not sure. I like this design because it has to do with my students and the willingness to keep trying.
|
AuthorI teach a combined first and second grade at Tunbridge Central School. I love my school and getting a chance to improve my teaching every year. Archives
December 2017
Categories |


 RSS Feed
