
Squishy Circuit kits!!
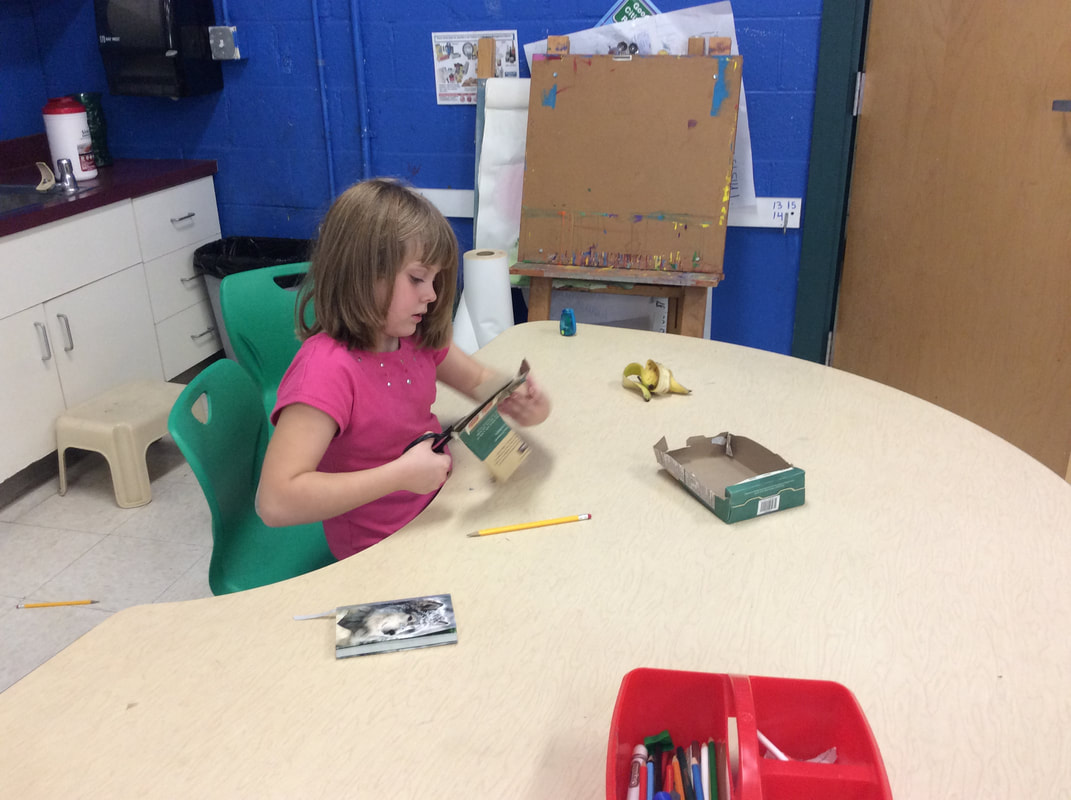
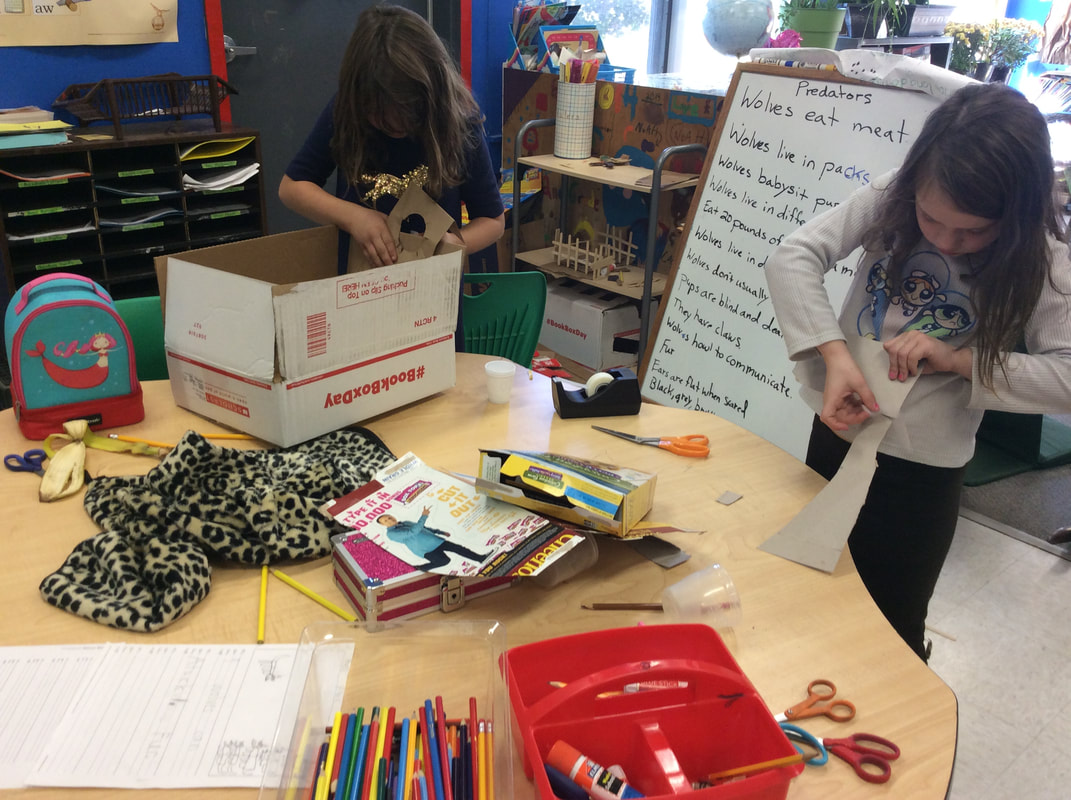
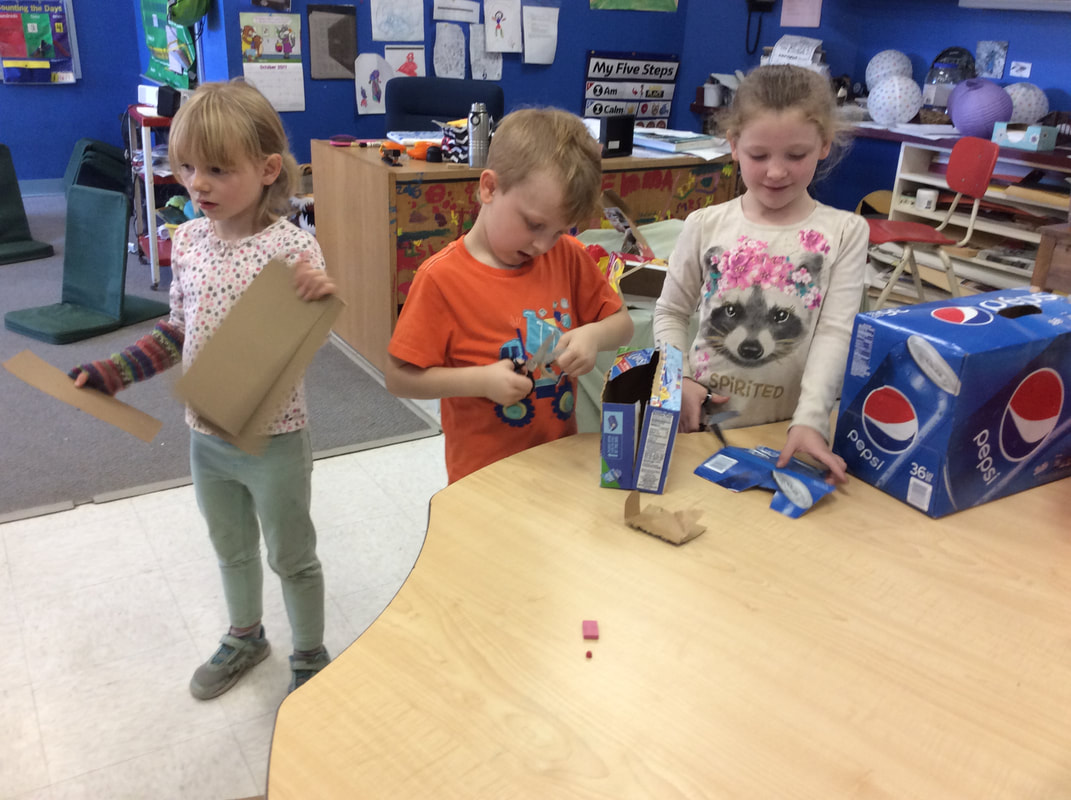
  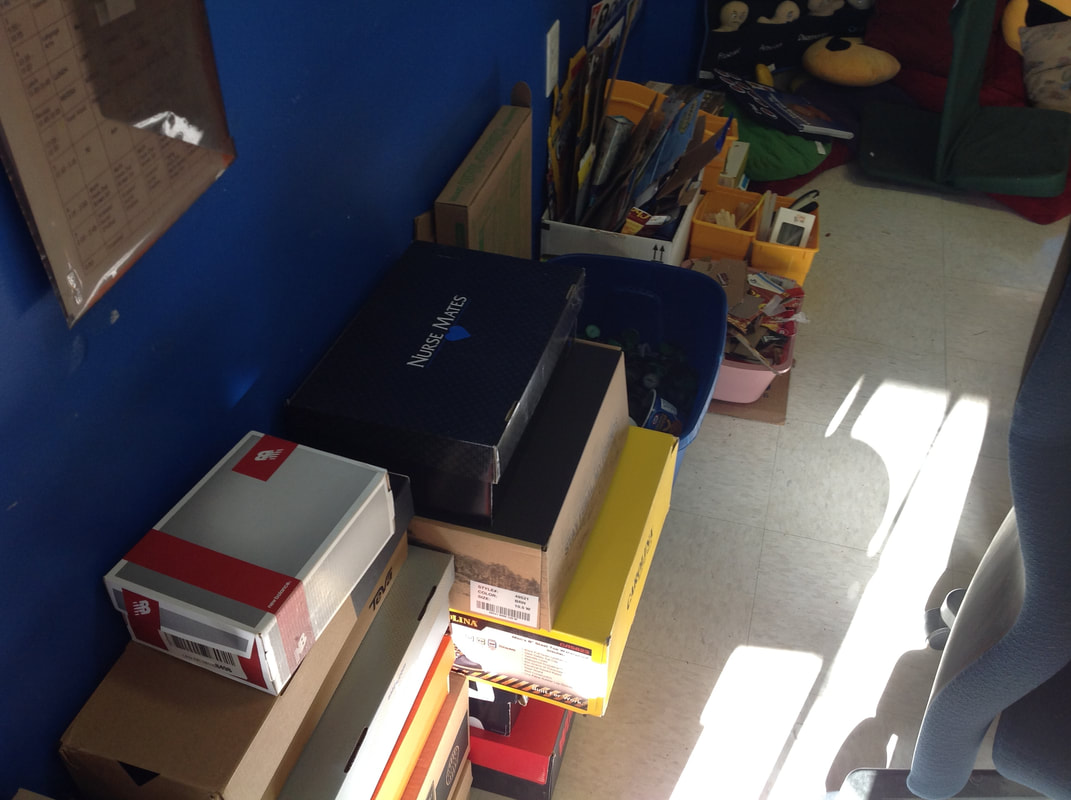 Storage of materials for the time being behind my desk. 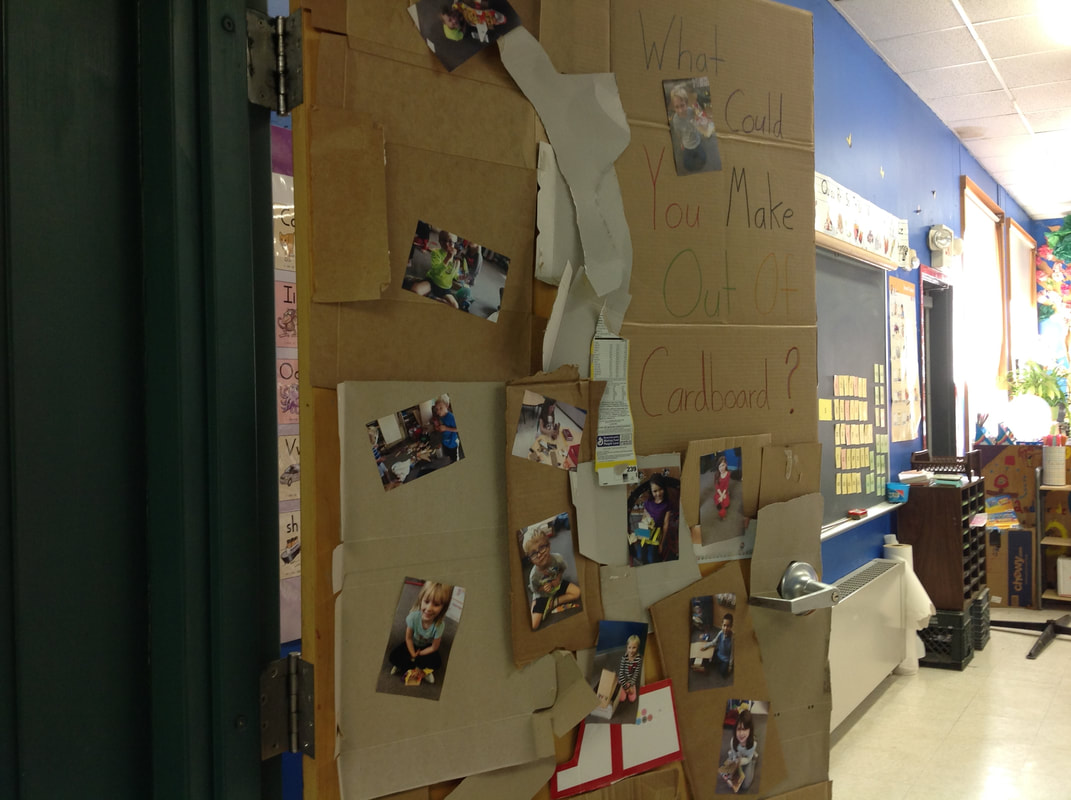 Pictures of my students making. 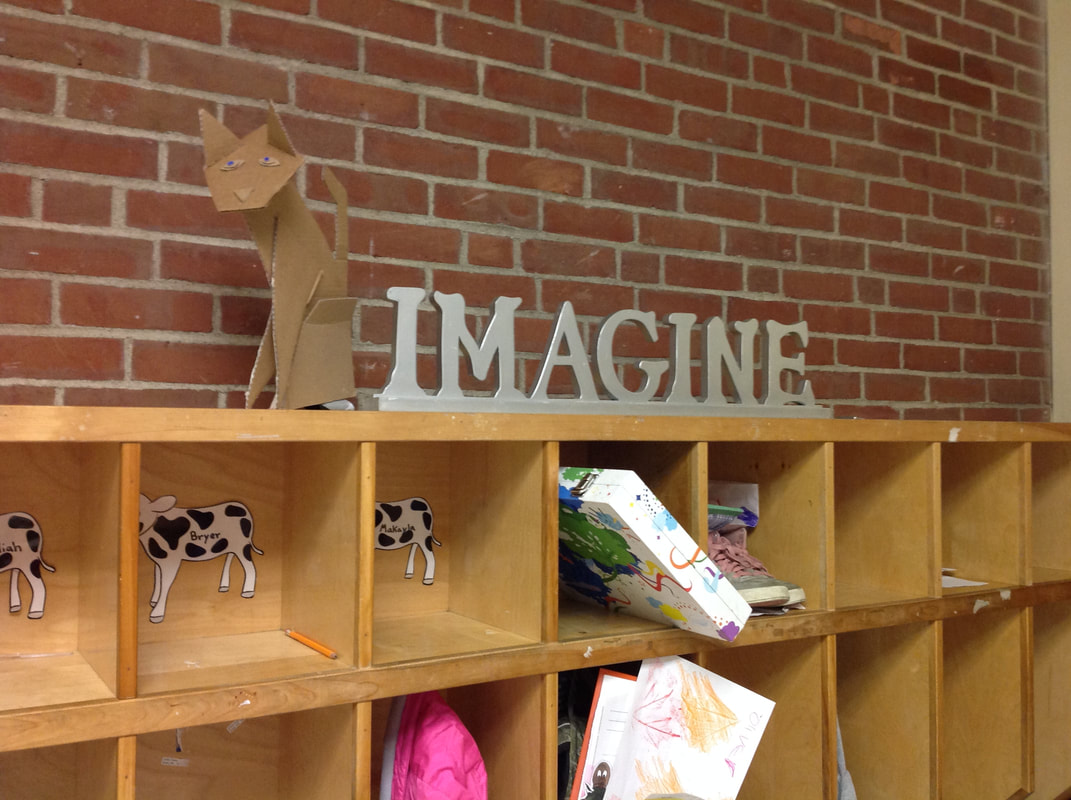 Cubby room in beginning phase.
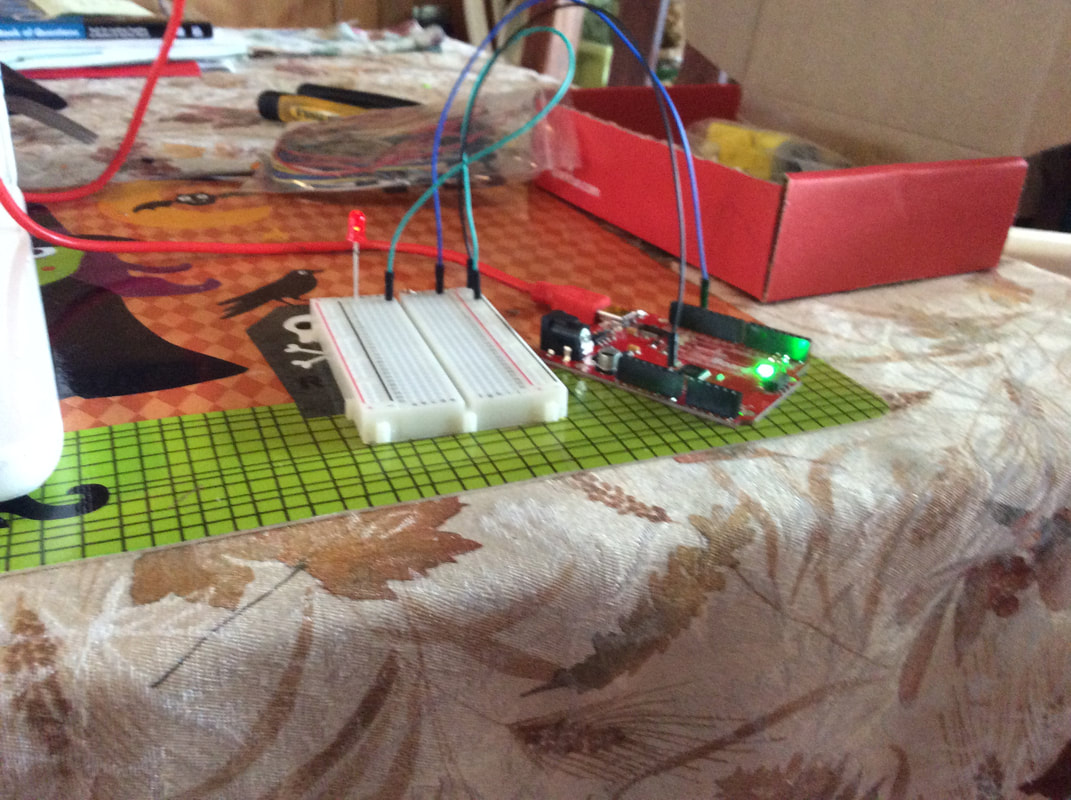
 It was so exciting to see my first motor move and to hear the swish! All the experiments and coding went smoothly. I finally felt like I knew and understood what was happening. Mistakes along the way but I feel more empowered now. 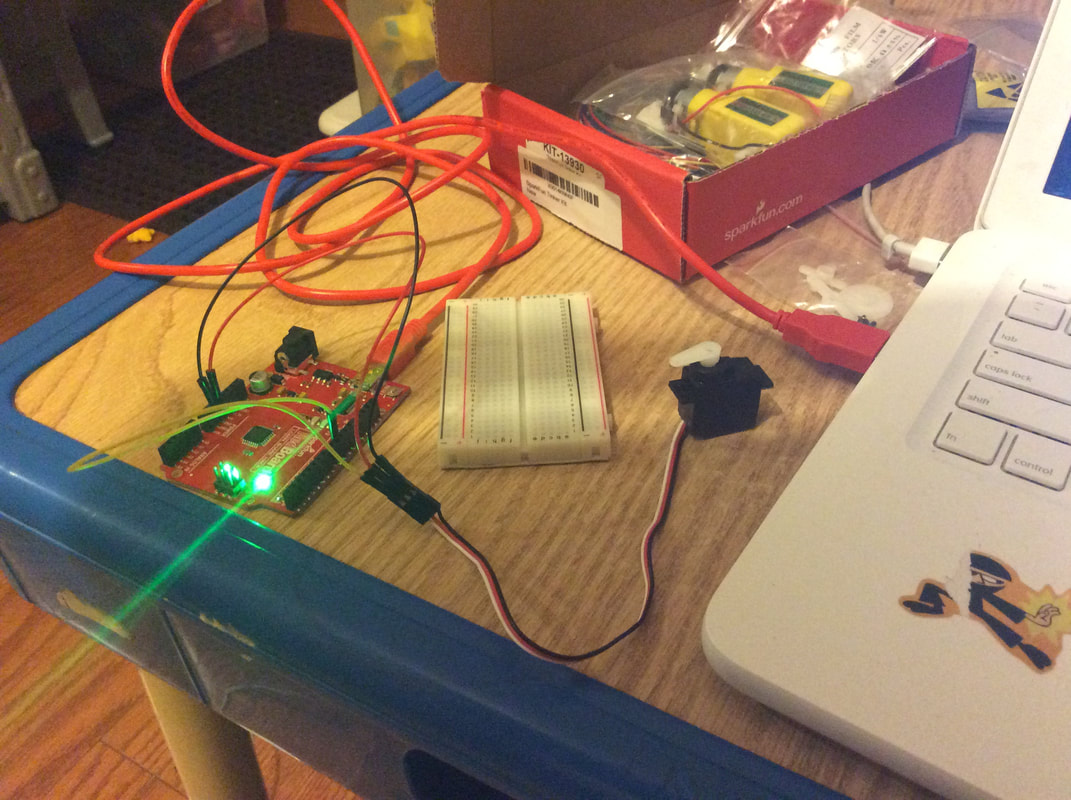 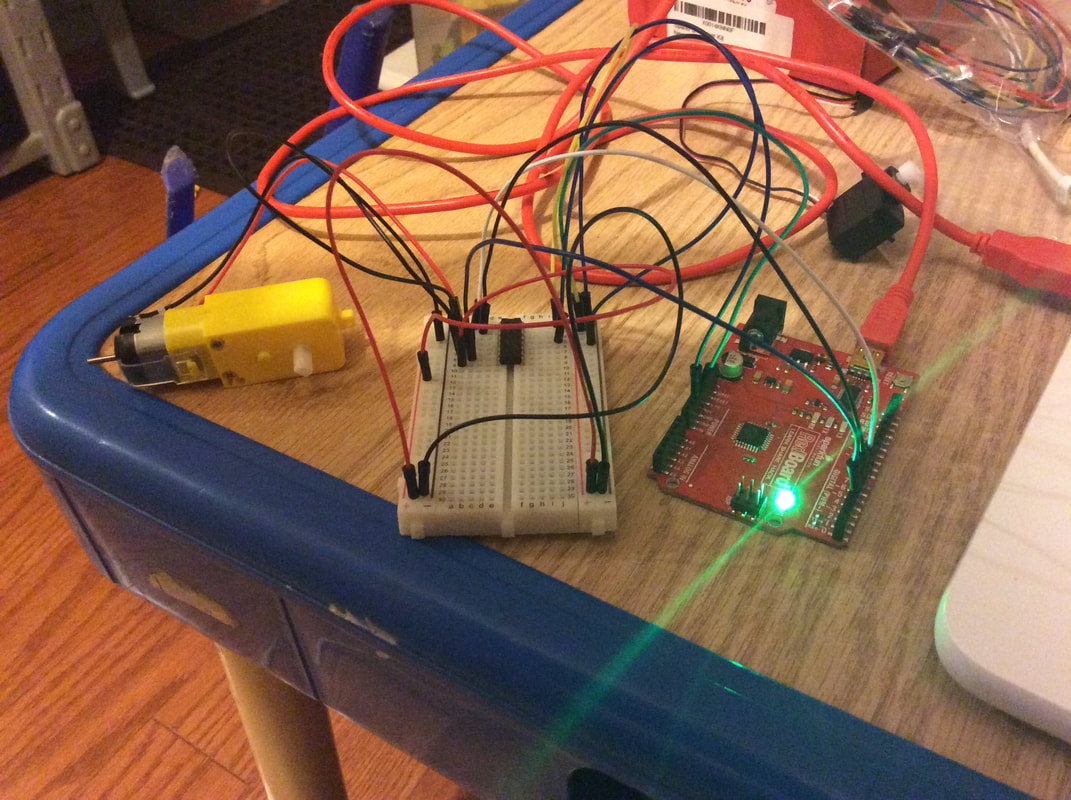 Yay! We had take off! My first time ever with these types of motors. I would use these experiment to show students that persistence can pay off. I would teach them to keep trying and take breaks. 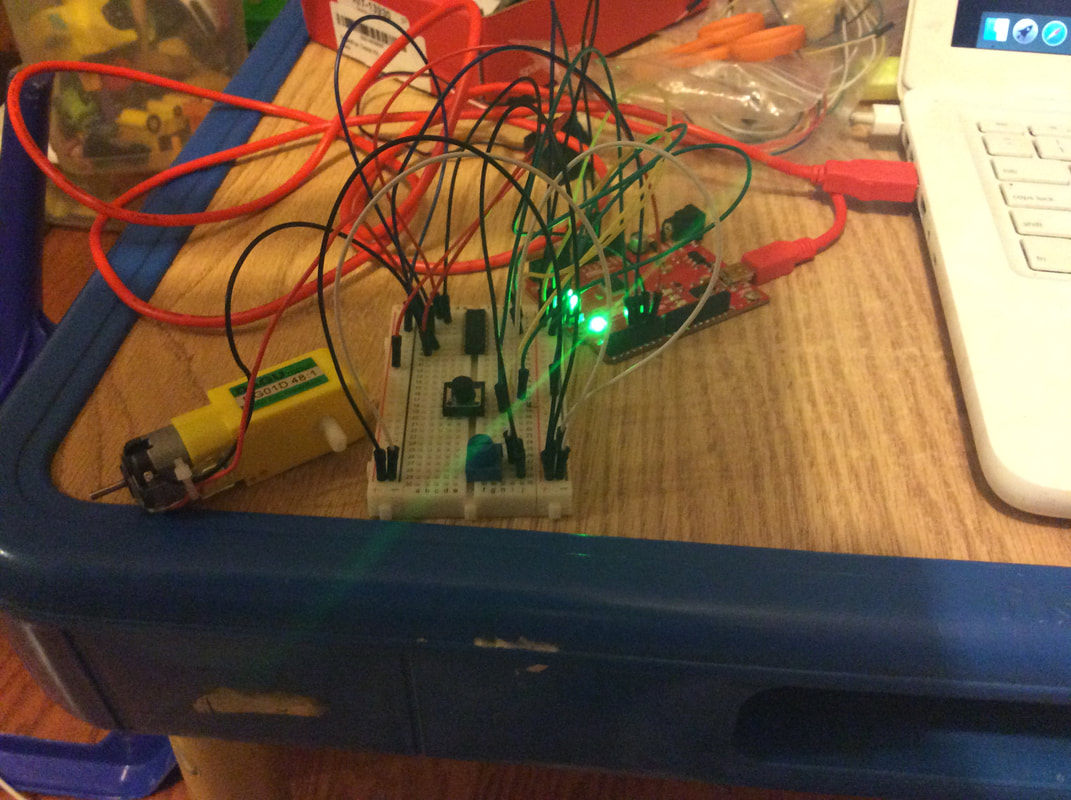 The push button worked!! Faster, slower and reverse and forward motion. I will be showing my son this motor tomorrow. 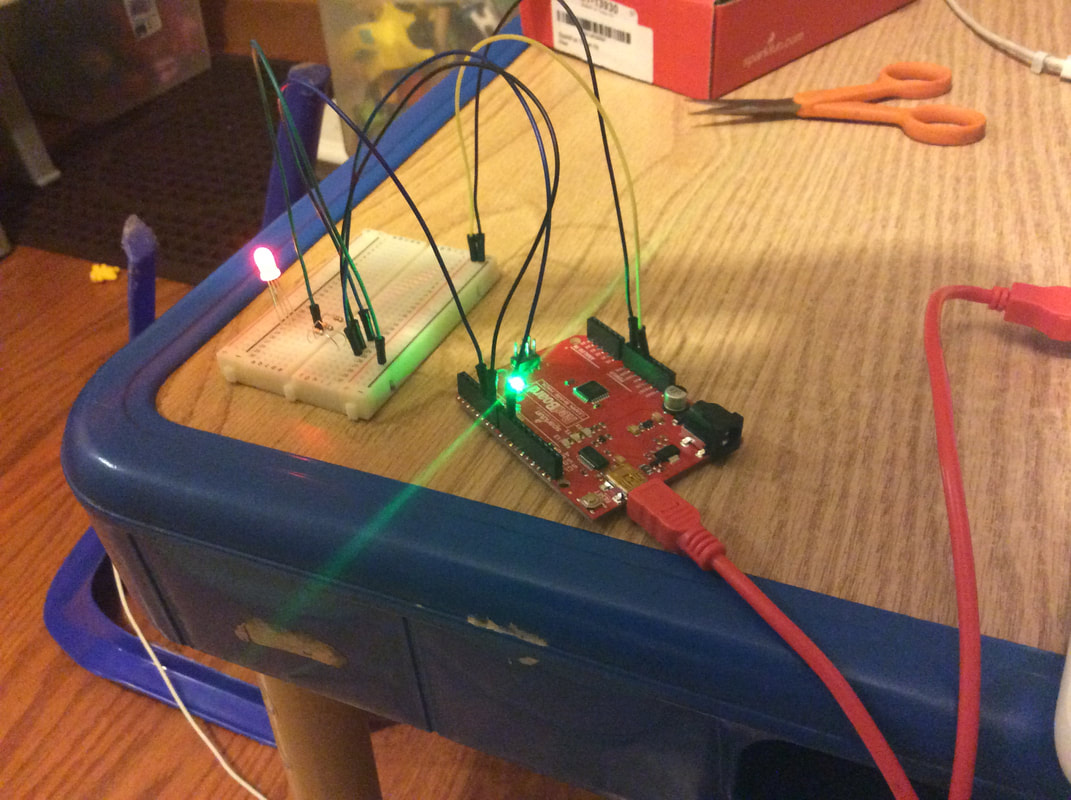  This finally worked for me! I just had made a mistake in one of the other experiments putting the code in.
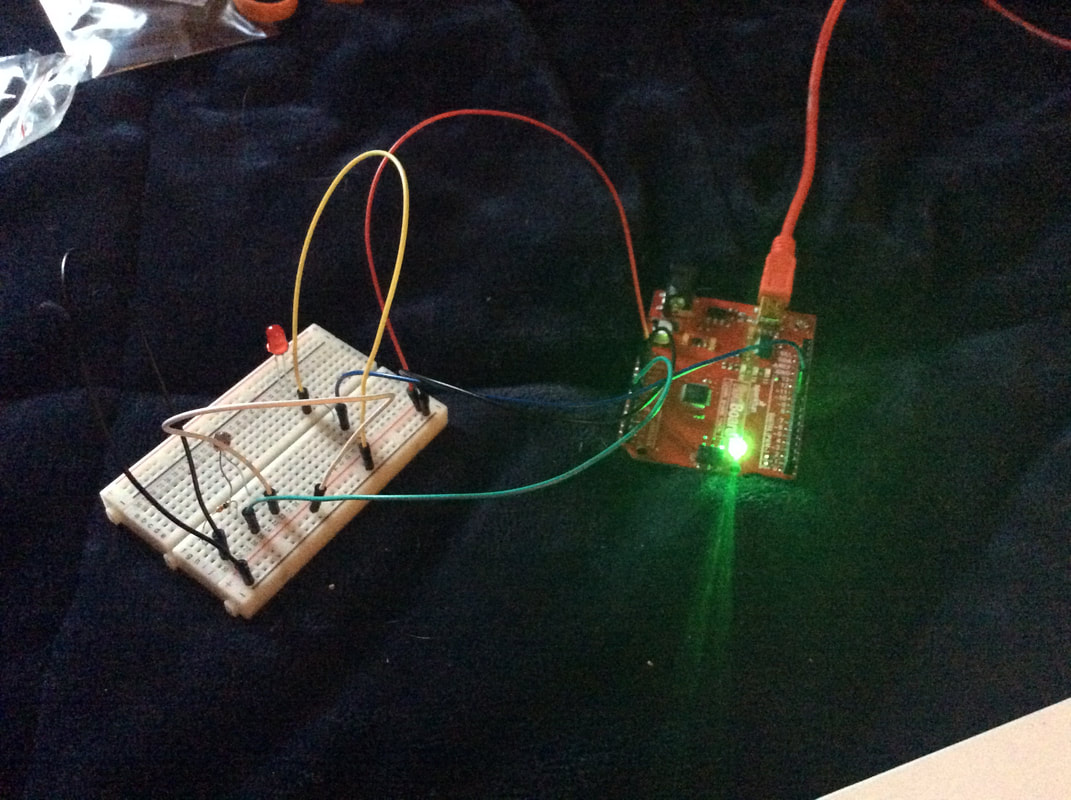
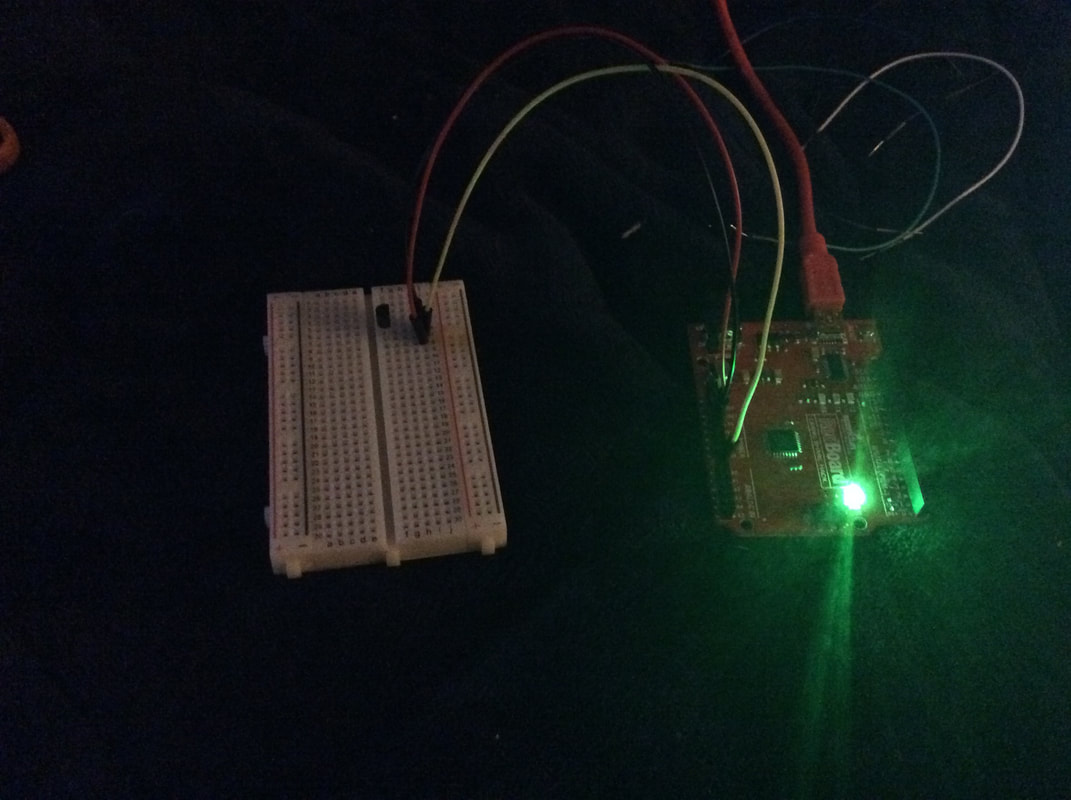
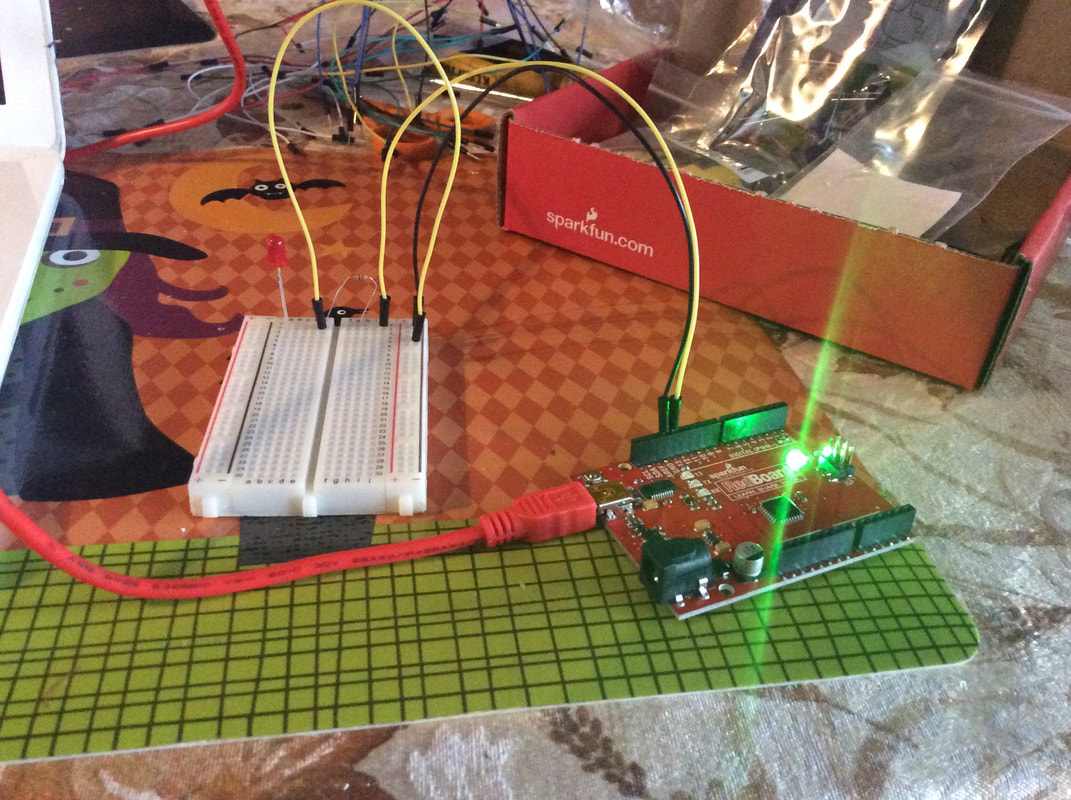
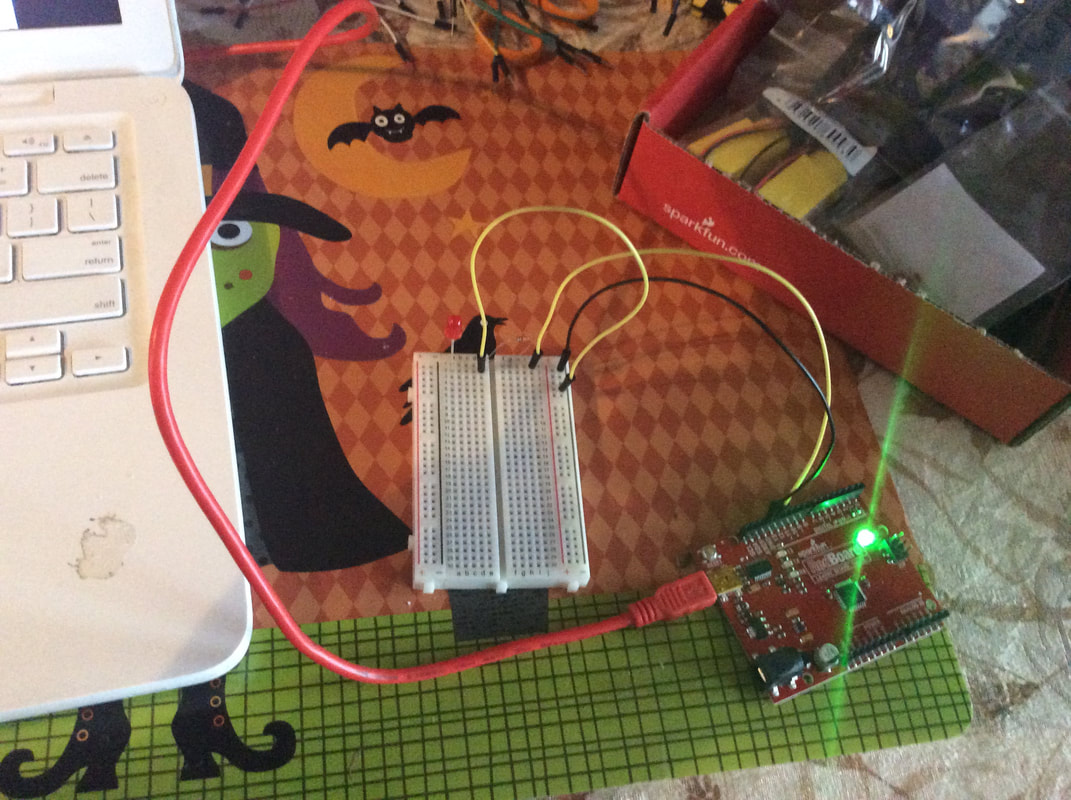
  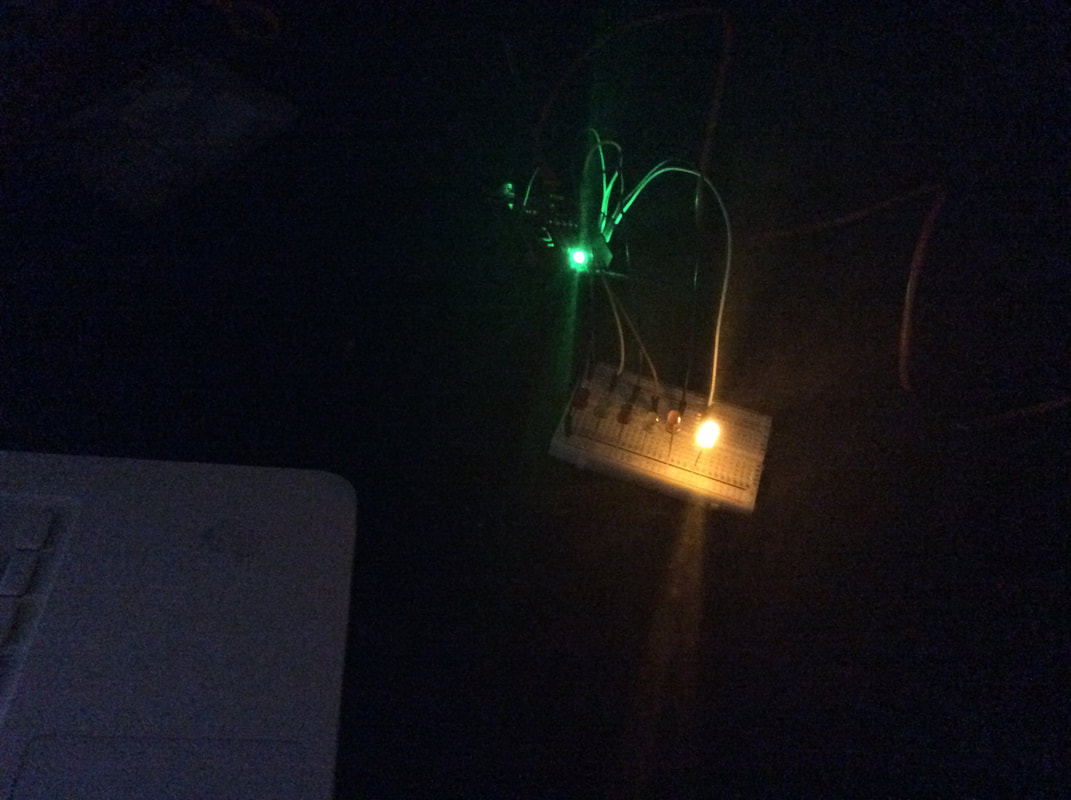 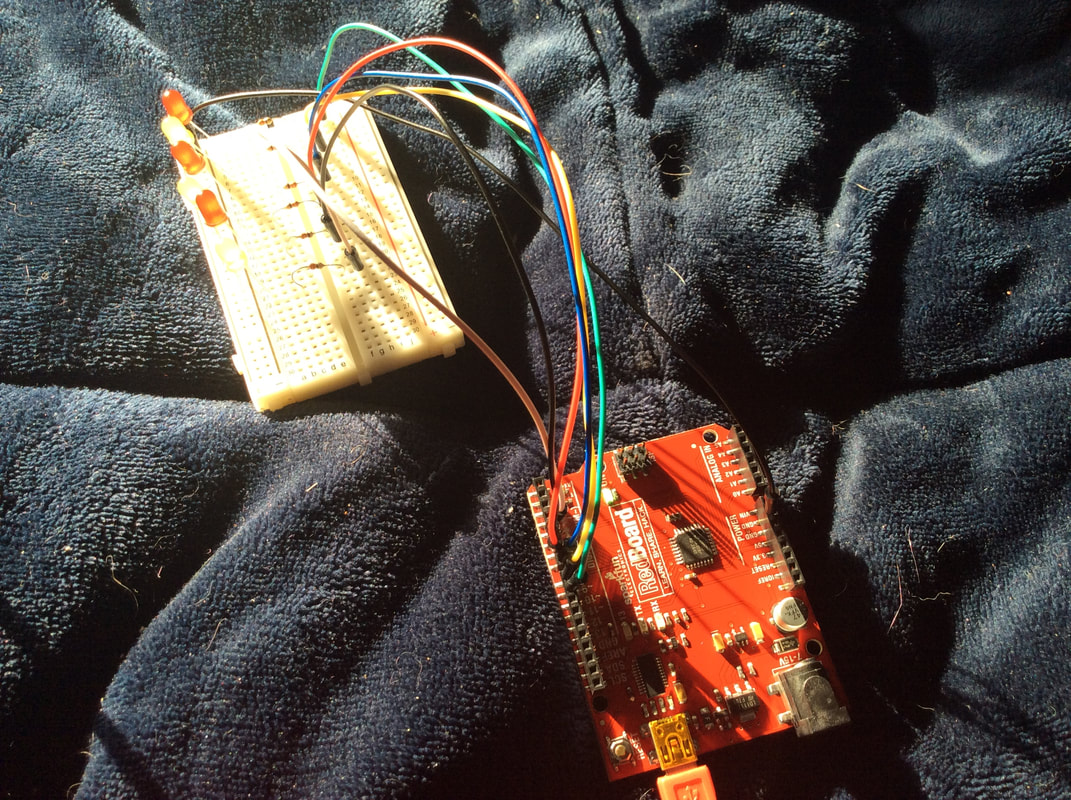 This was my first experience with trying to light multiple LED lights. When I got them first all plugged in, on ewas lit up. This made me wonder if I had only done one right. So, I rechecked the diagram and pushed all the wires in to male sure before I ran the audrino.
I really want to include using LED's in a future parent night. The idea of having students show parents how to use the Squishy Circuits or a Makey Makey is very exciting. I don't have a Makey Makey but the science teacher at my school is going to be ordering them to use with his class. He is going to have these supplies on a movable cart for all to use. I am also excited about my student and his middle school students working together on some of these projects. I think this would be a great way to demonstrate transferrable skills. I tried a couple different ways to get the temperature sensor to work but nothing showed up in the other menu. I am not sure if it was the copying of the code. I tried just selecting, and then pasting it. When there are moments like this when I know it is probably something simple that is stopping it from working, it takes a lot of patience. I can see how this can feel the same for kids when they are stuck on a problem in math or they are just having trouble coming up with an idea. The best way to help students when they run into problems like this is to let them know that mistakes happen but that it is also okay to ask their peers for help. This is a time when it would be helpful to be doing this in a class. I need more practice with the circuit board, and I am hoping to get some PD time through the Montshire Museum of Science.
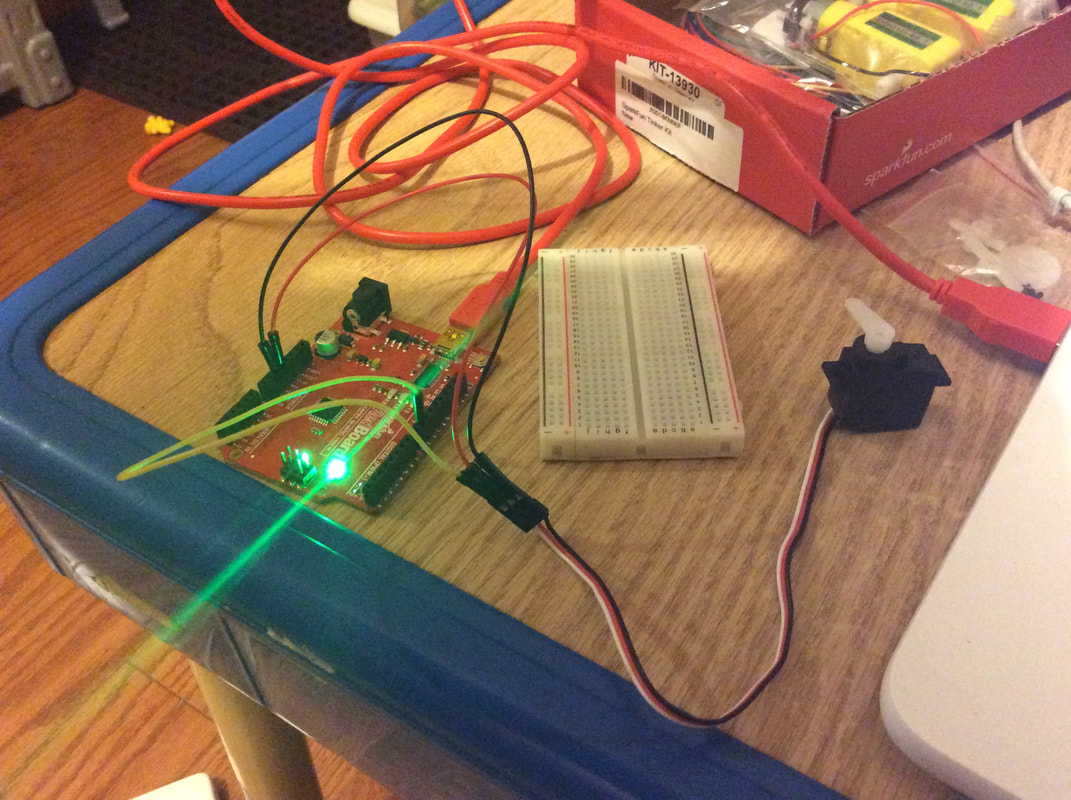
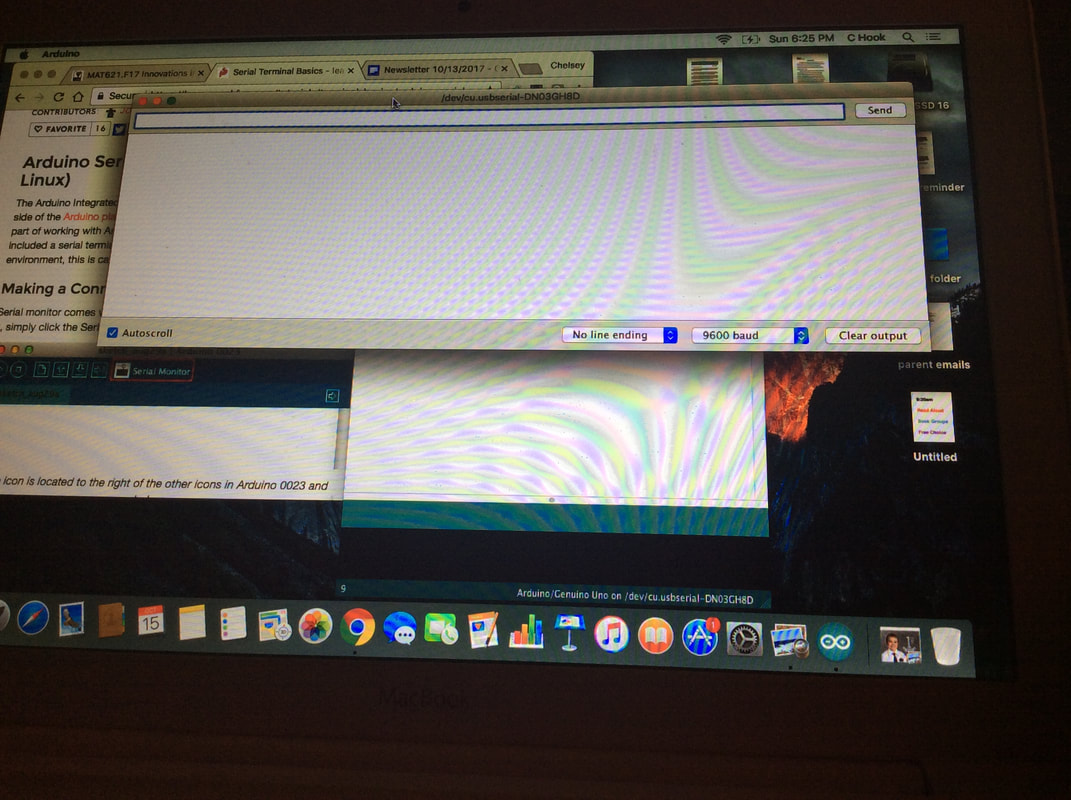
This was the first time I have ever worked with a circuit board and all the pieces. It took me awhile to get used to everything and begin the first step of the experiment. When I got everything set up, I then downloaded the Arduino. I copied the code and uploaded it. Nothing! I then spent a few hours watching youtube videos, while trying to figure out what was wrong. Did I put the code in wrong? I tried taking it apart and putting the wires back in. In the end, I checked the troubleshooting page of Arduino. It said to check the tools and then board. I then thought, where is the section on tools? On my Mac? Where? This is what happens when you get worries, your kids are in the background and you just want it to light up. Finally, I discovered the tools and then boards. I read in the troubleshooting tips that maybe the wrong board was checked off. Oh my, there was a whole list. I found out that the right board was checked. I then saw ports. One was checked and I thought, what the heck. I checked the other port. Success! The wrong port had been automatically checked off. My son was excited to see the led blink, and I was happy that I hadn't wasted all the time on no solution. I learned a lot, and I feel more confident on using the breadboard and the Arduino.
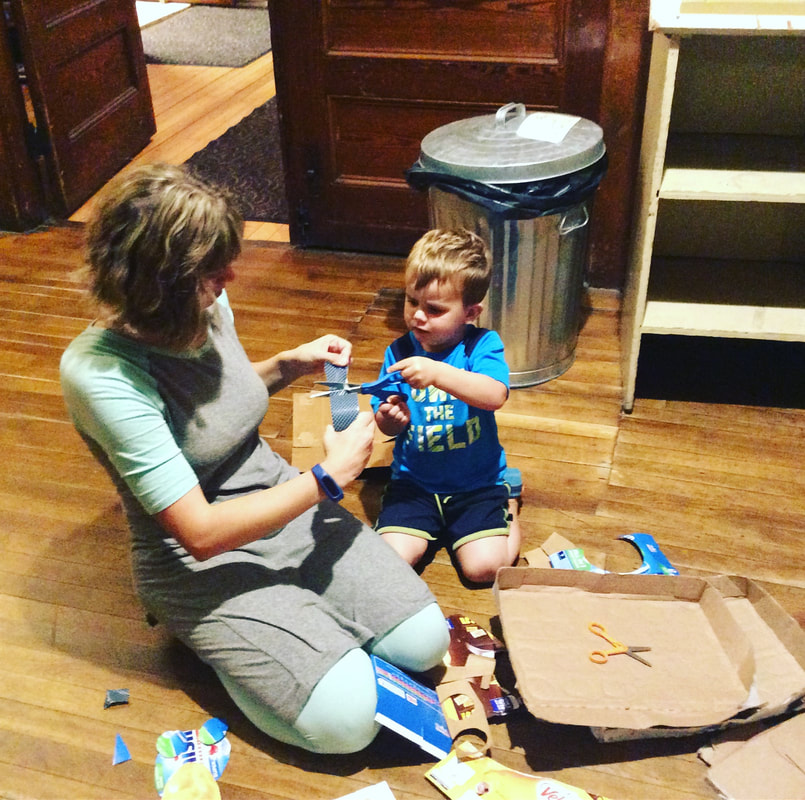
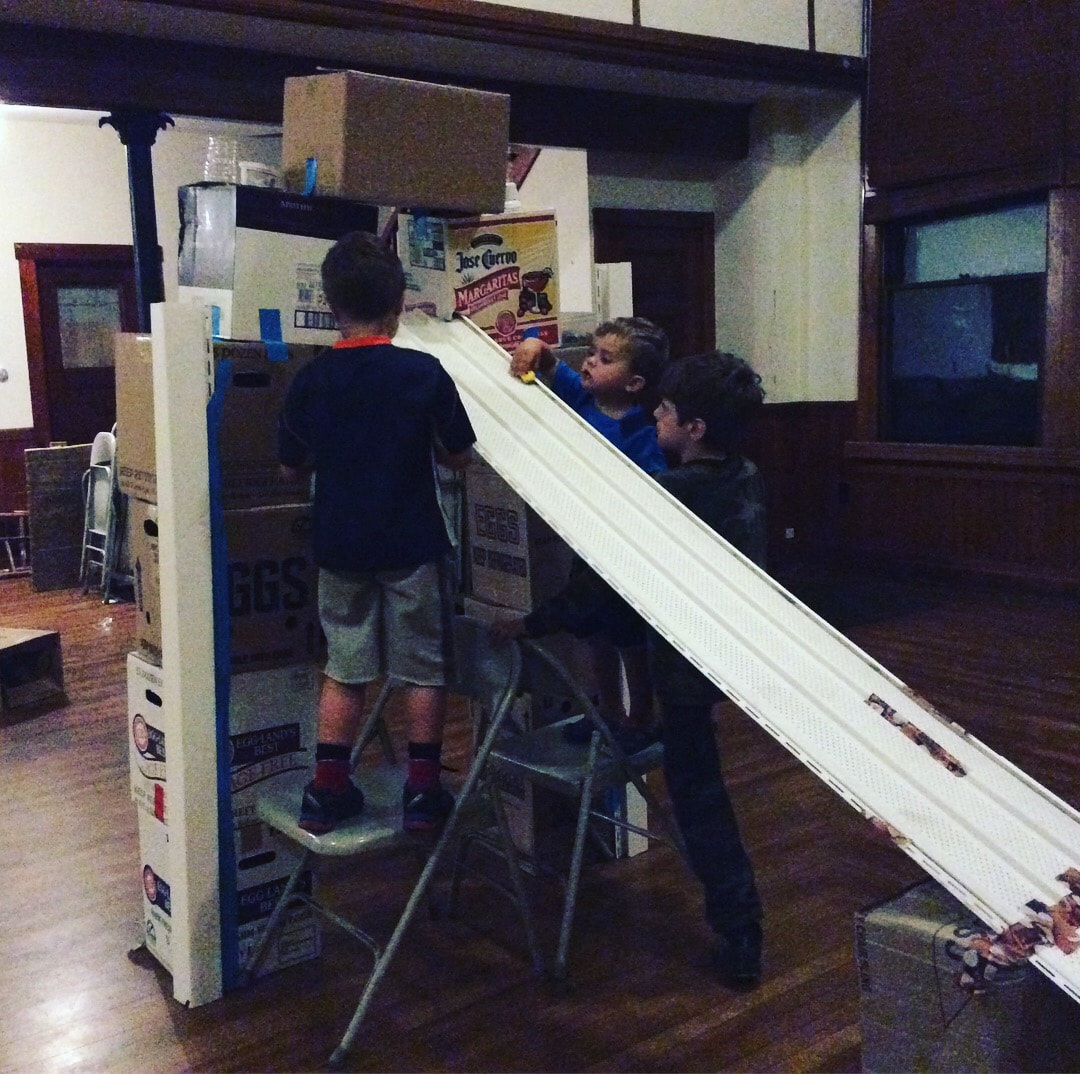
On Thursday, we went to our local library for a duct tape challenge. I thought it was great that the librarian is also in support of Makerspaces. My sons had so much fun! James helped to design a race car track and I helped my other son build a monster that holds tattoos.
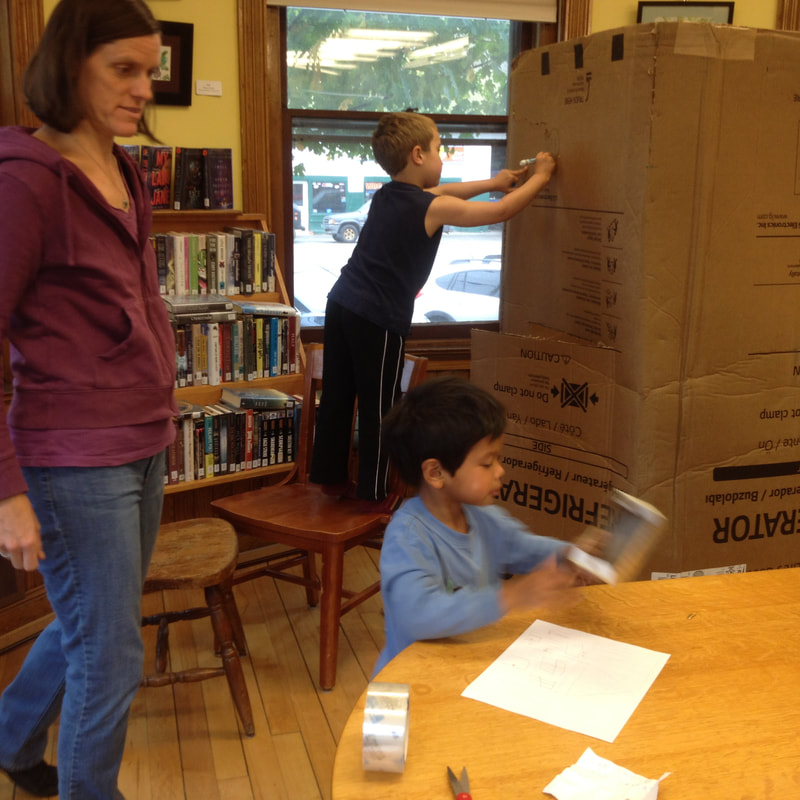 Children got to build a cardboard house last weekend during story hour. They were so excited when they saw how big the house was. The little boy who is at the table was a plumber. He made a toilet for the house and then put bottles together and taped it to the back of the house. He said this was the plumbing for the septic. Quite the builder! When my son had to use the bathroom, he said "Use this one." Pretty funny. Before this class, I wouldn't have know what STEM projects were. I think out librarian is great for doing this for local kids. Another example of making.
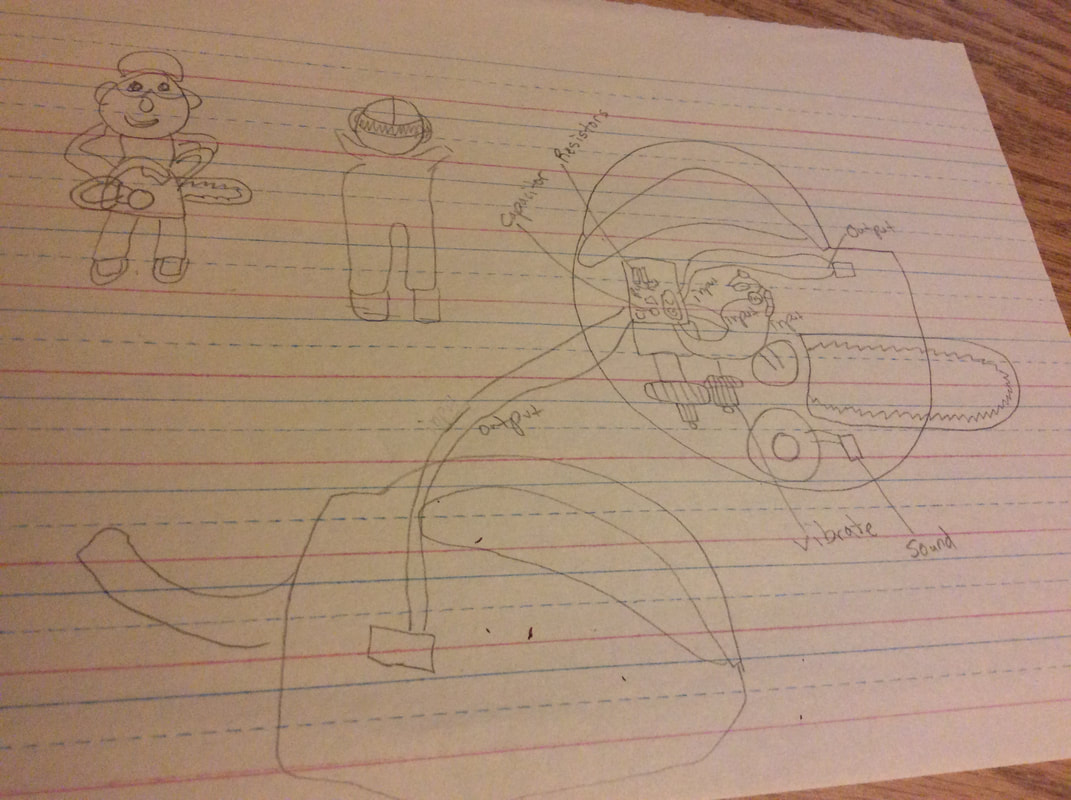 Here is my drawing of the inside of the chainsaw. Much more complicated than Winnie The Pooh. The circuit board on this was only about a 1/2in by 1/2in while the other toy's was 3inches long. i liked seeing the gears in this one. I hadn't ever given thought to what would be needed to make a toy vibrate. The chainsaw also had a few screws keeping it closed. A pretty neat design.
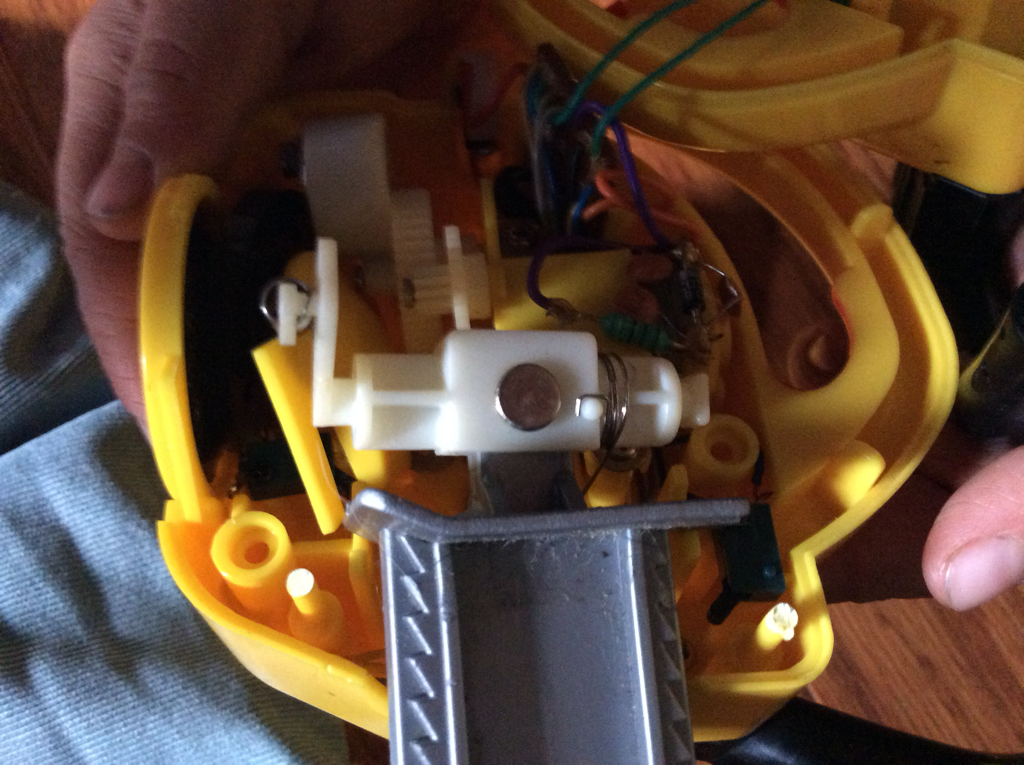 My son helped hold this for me while I took a picture. He asked me "When can I take apart a toy?" The insides of this toy were pretty intricate. I felt like if i moved it the wrong way, pieces would fall out. I guess what amazes me about this is being able to build this, so that everything fits inside and works together. I can see how if this toy wasn't used gently, there could be danger to it. I am still unsure what the big white piece it with the metal circle on it. Any ideas?
|
AuthorI teach a combined first and second grade at Tunbridge Central School. I love my school and getting a chance to improve my teaching every year. Archives
December 2017
Categories |
 RSS Feed
