
Squishy Circuit kits!!
|
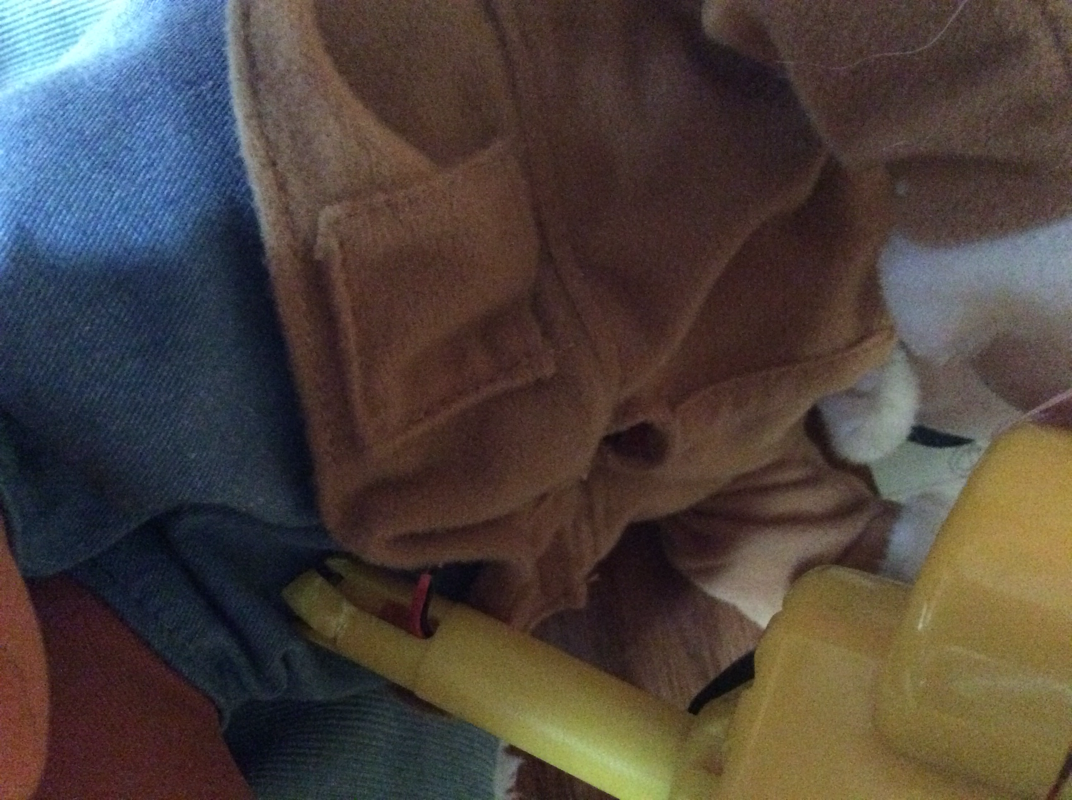
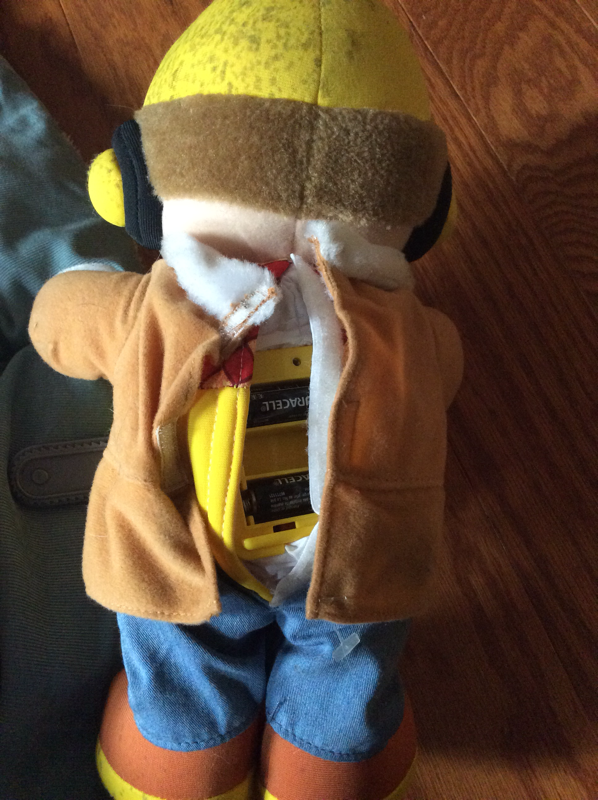
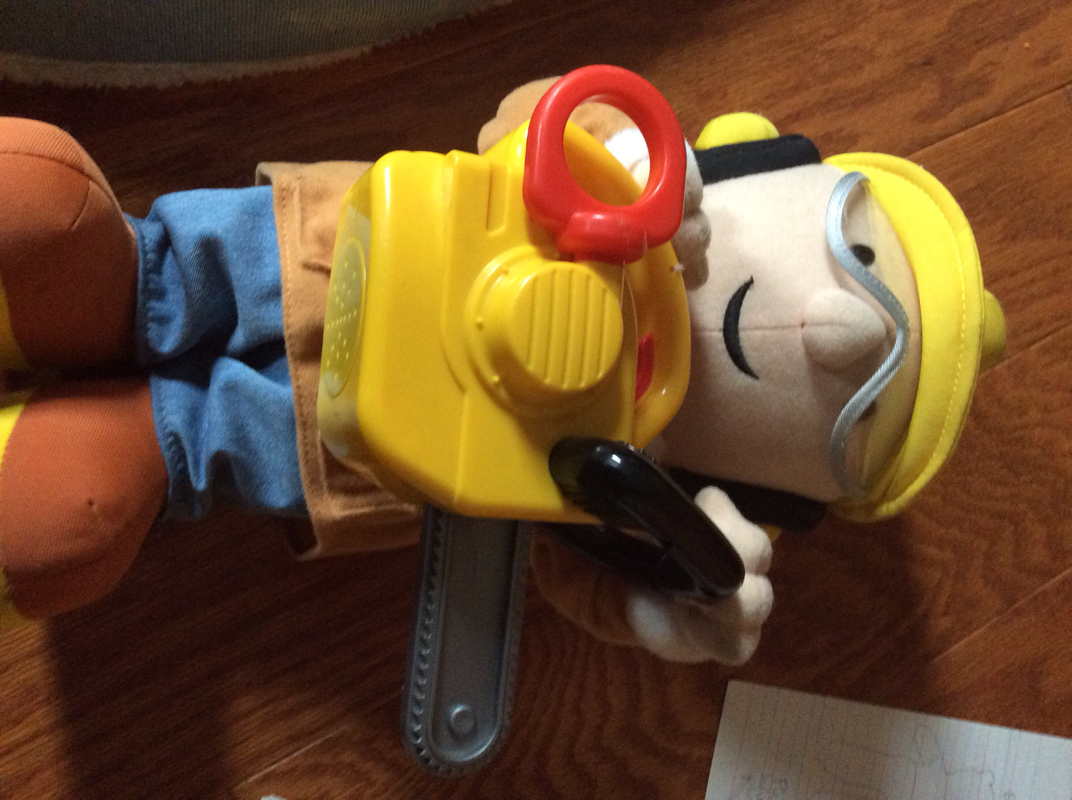
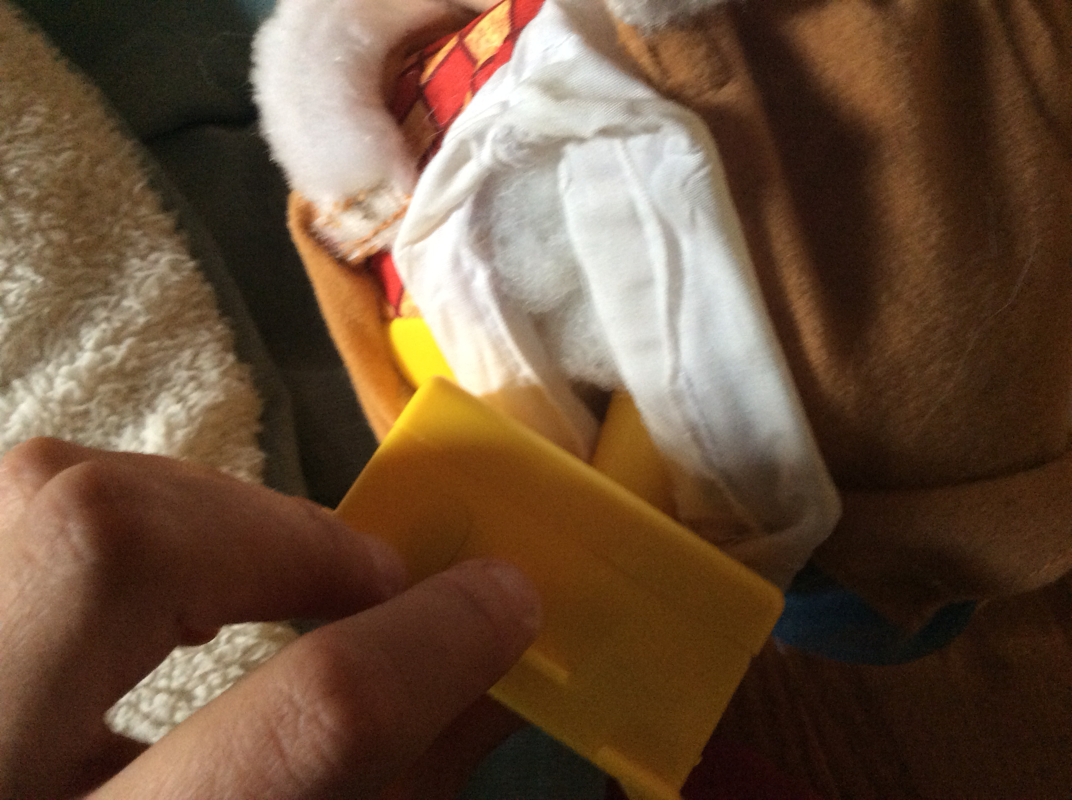
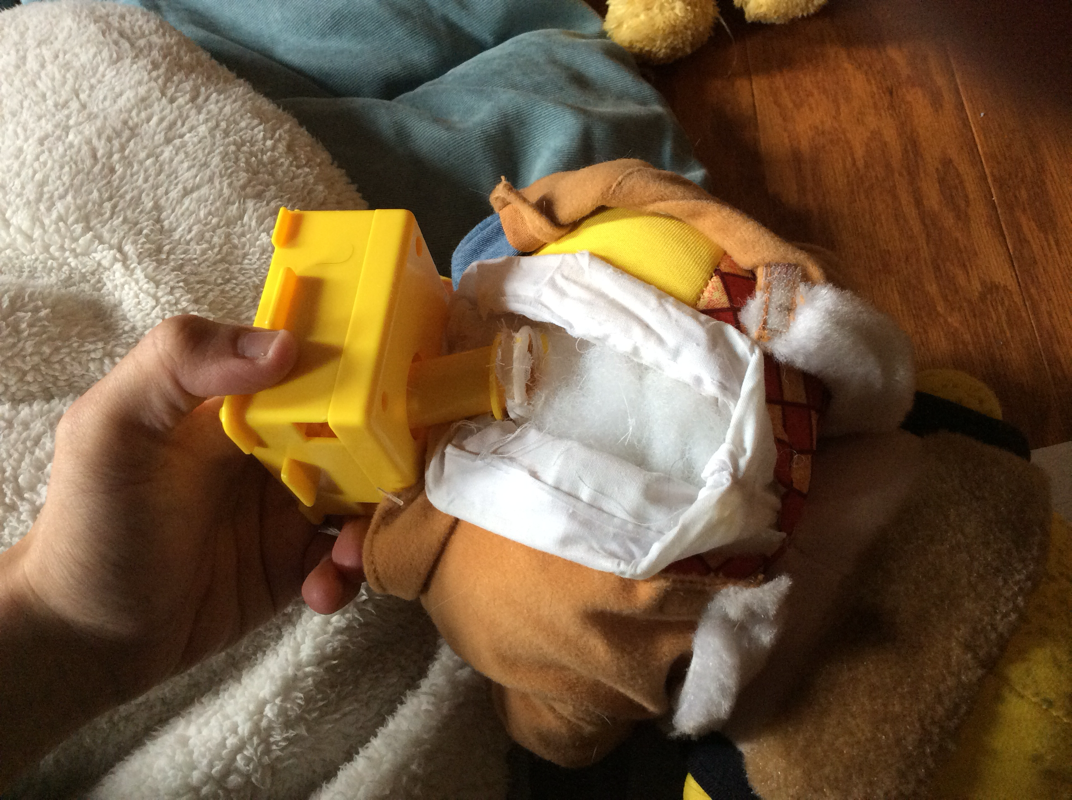
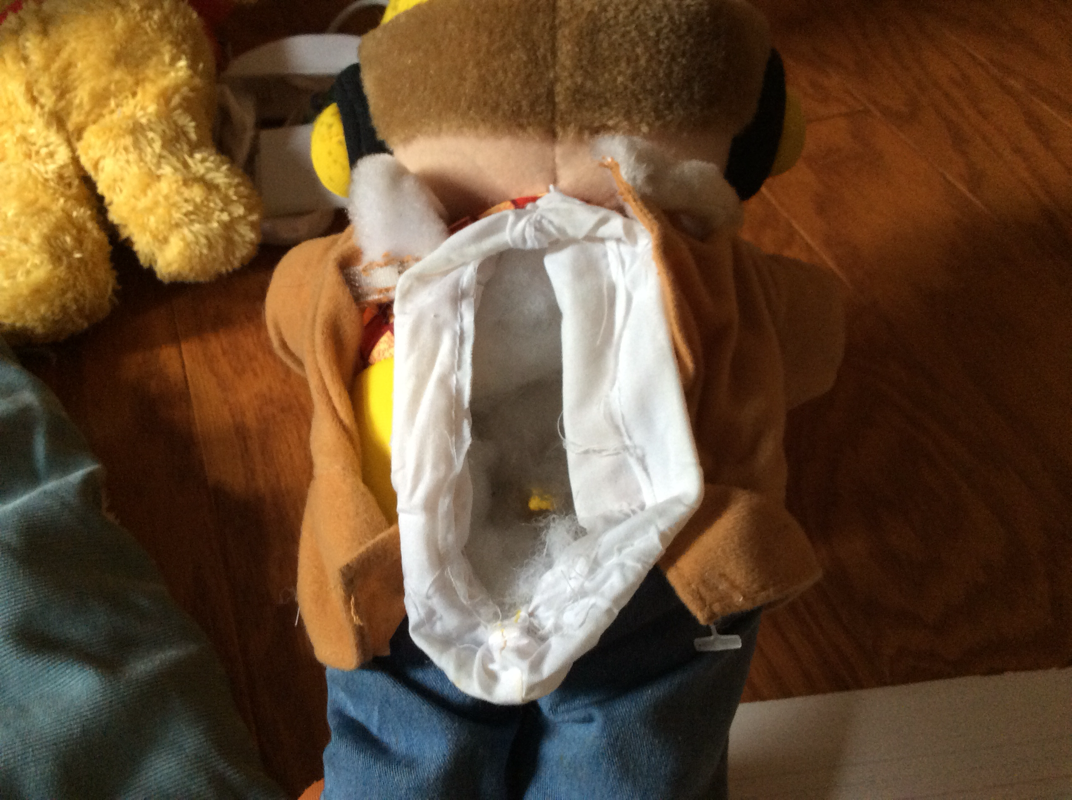
Bob The Builder was the most challenging toy for me out of the two. I started with cutting the cloth to remove the battery compartment. I thought that it would easily come out. I found out that it was attached to the chainsaw on the front of the toy through the belly. It seemed like it could twist off. This wasn't the case. I twisted it off, which made it break off and the two wires that would have connected to the chainsaw. When I first took the battery compartment out, I made the mistake of thinking that the circuit board was with this like it had been with the Winnie The Pooh. I kept trying to figure out how to get to the circuit board. Finally, I realized my mistake. I then went to take the chainsaw apart, which was also hard. I unscrewed the screws but it didn't want to open. This is when I would teach my students about perseverance. I got it open and was amazed by how different it was. There were gears, which make the toy vibrate. There was a smaller circuit board and more wires.
0 Comments
Here is my drawing of the front and back of Winnie The Pooh. This stuffy could be programmed to say your child's name in one of the phrases. It doesn't move its mouth. To make it talk you just press the paw. 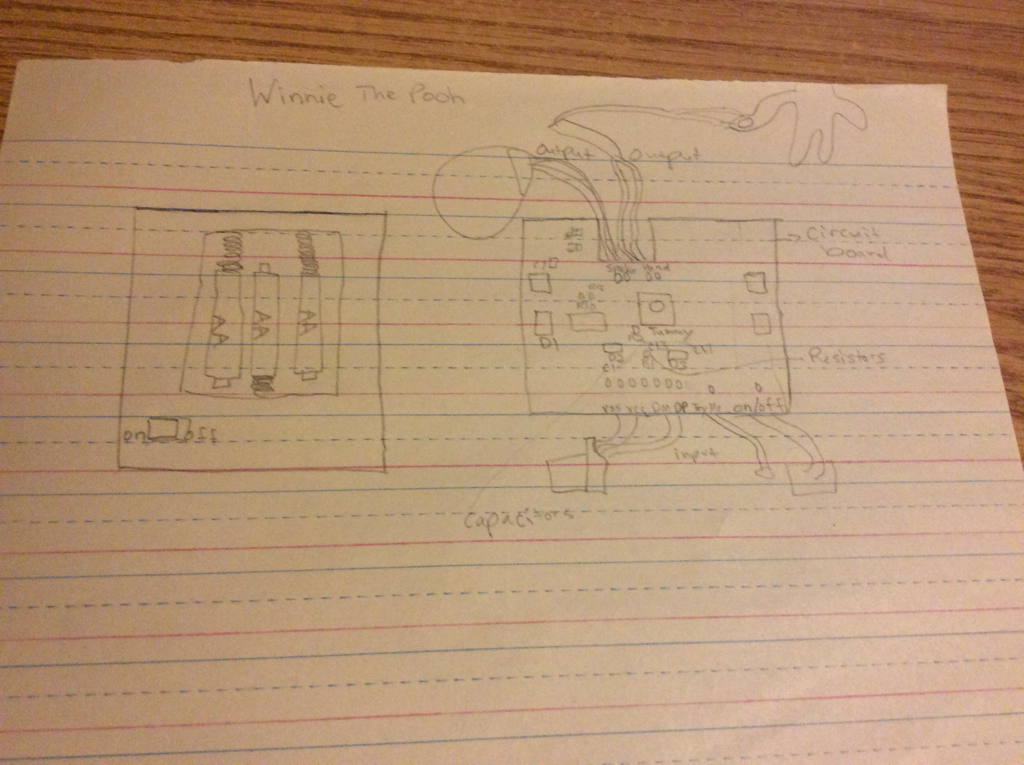 This is the inside of Winnie The Pooh. The circuit board was easy to look at and find what wires went to because they were marked. One said hand and another said speaker. This was the first time I had ever really looked at a circuit board inside of a toy. I didn't feel nervous about it and I almost feel like I could build one.
This toy was quite easy to get to the circuit board. I only had to use a screw driver to open it up.
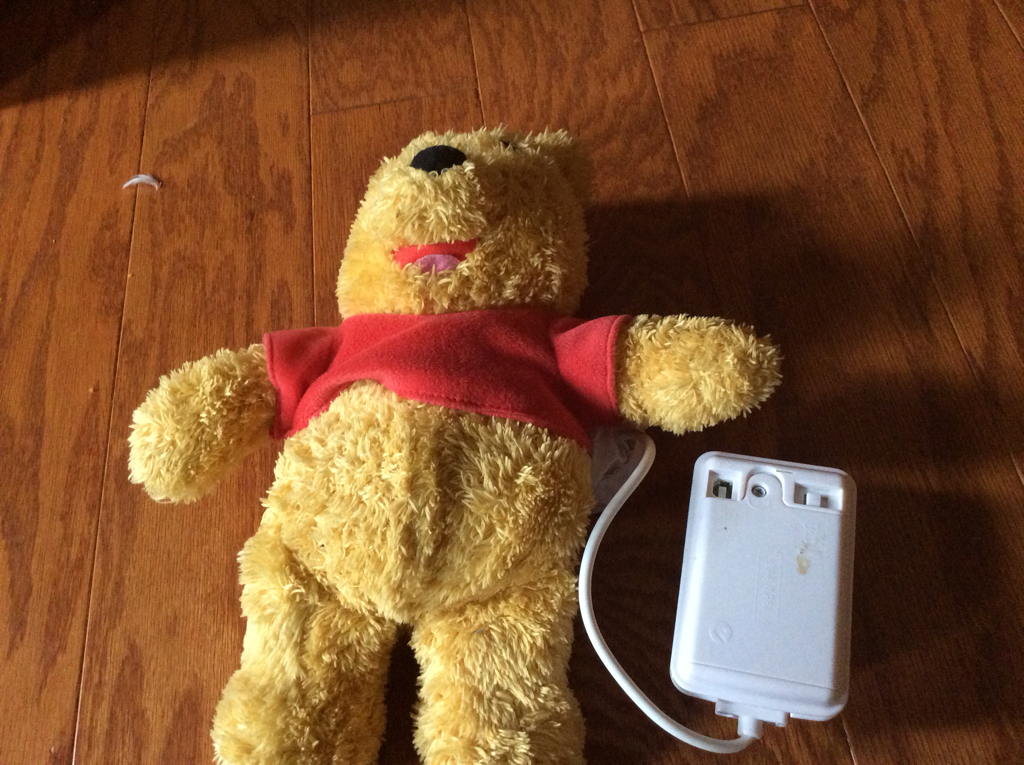 Poor Winnie The Pooh! He was the first toy that I tinkered with. His circuit box was the easiest for me to get to. I just had to cut it out of the back with scissors.
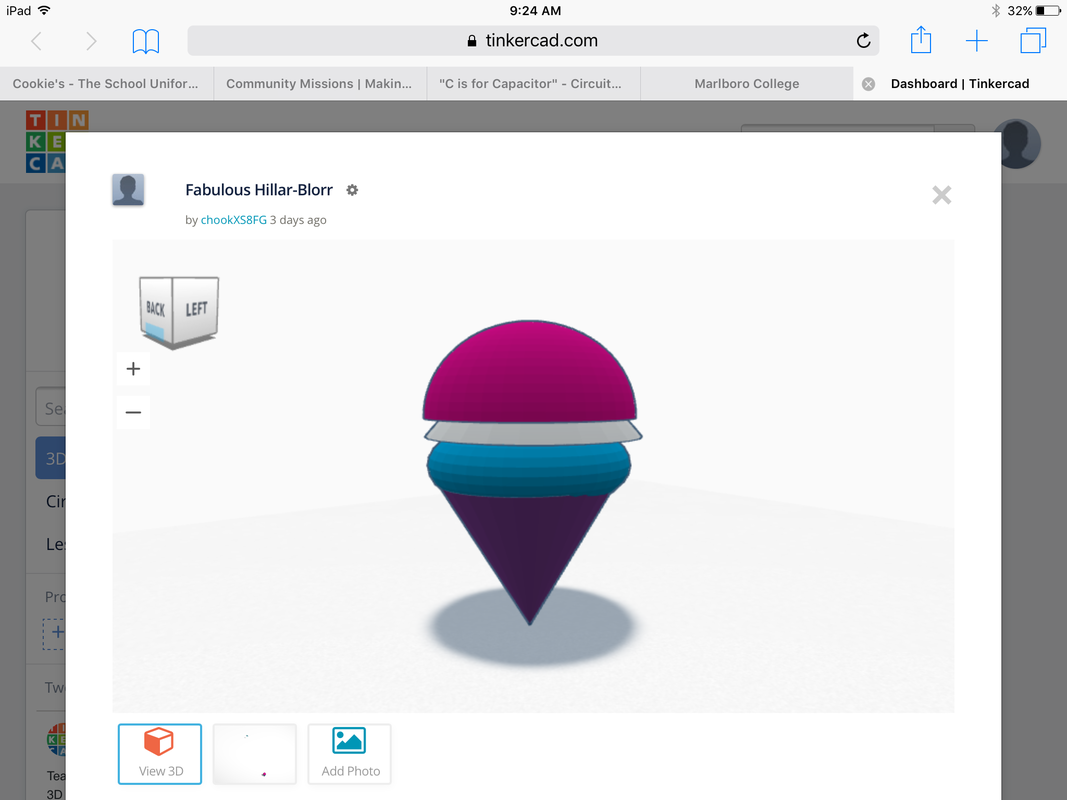 Week 1. Tinkercad link: https://www.tinkercad.com/things/4maRa4ggMig-fabulous-hillar-blorr/editv2?sharecode=4viA_XwUU_MFItLtPXxw25e68NYRqDmmVoQWEmhk-QI=I had never used Tinkercad before. At first, I thought it looked easy. As I began to manipulate objects, they wouldn't go where I wanted them. I would think that I placed an item on top of another item to find out that it wasn't anywhere near it. I had decided to make an ice cream cone. Getting the layers to sit on top of each other was tricky. It helped when I realized that there was a black cone that would appear and if you clicked it, your object would go up or down.I can't believe the designs that some people have created. One person had made Sonic the Hedgehog. This is all new to me, and I am so impressed with what others have made. Their designs must involve calculated movements because the least bit of movement can flatten an object or make it move too much. This is my first time with 3D building. I also haven't ever used a 3D printer but I am hoping I will get a chance soon. The only thing that I have developed that would be remotely close is a game. I learned how to code and this had also been a new experience for me. I would love for my students to be able to see a 3D printer and what it could make. I think it would be pretty exciting for them. I keep asking myself, "What are they going to think of next."      I started my cardboard project with my boys. Our first step was to cut up pieces of cardboard and find bottle caps and lids. Thankfully I hadn't done recycling yet. Now I have way less to recycle! We then decided what we were going to make for projects. My sons quickly thought of making a motorcycle and a boat. I sat at the table feeling lost. I couldn't think of anything yet or was overthinking. I brought this idea to my boys and they had ideas within a minute. How great it is to be a kid and full of so much imagination and endless possibilities. I eventually settled on making a cat. Instead of making my cardboard all lay flat, I decided to make it 3D with adding the ears sticking outwards. I then moved onto making the front legs. I cut out the first leg and then traced the 2nd leg on top. When I look back on the project, I realize that I should have measured my cardboard pieces to make it exact. I think when you get excited, sometimes you just delve in without everything being planned. I then made the two back legs and glued the pieces on as I went. My cat can stand up but it isn't super stable. This is where measuring would have been a good idea. The last steps I did was to add detail to the cat's face. I added a nose, and eyes. The eyes took me the longest to make and glue on because they were small. I decided to add blue cardboard for the eyes. I like the blue contrast to the brown of the cardboard. The tools that we used for working with the cardboard were scissors and a hot glue gun. I was amazed at how much time my sons and I spent on this. My three year old had spent half an hour on just cutting a box with scissors while I cut the rest of the cardboard out. He was so engaged just on this one process of using scissors without detailed instruction. This was the first time that I had really made something out of cardboard. I wish I had had this idea when I was little. With not having a lot of money, it would have provided me with hours of fun and making. A great way for students to lose themselves in imagination and create something at the same time. The students in my class are already becoming proud of what they are making out of cardboard. The one good thing about making this with my kids first was that I saw how some types of cardboard were too thick. The best cardboard for young children to use are cereal boxes and other thin cardboard that they can cut. I have asked parents to send in this type of cardboard and any bottle caps they may have. On a side note, it would have been nice if I had duct tape for my sons to use but it also looked nice without seeing all the tape. Duct tape would be useful to have for my students because they are having to wait in line for me to hot glue their pieces on.         All three of my sons were very excited about this project. I am going to share their pictures on October, 7th of the cardboard challenge. Super cute boys there!
|
AuthorI teach a combined first and second grade at Tunbridge Central School. I love my school and getting a chance to improve my teaching every year. Archives
December 2017
Categories |


 RSS Feed
